
The complete guide
Choosing an Air Dry Clay Kit for Kids, A Practical Buyer's Guide
The problem with most craft boxes
You buy a craft kit on a Friday. By Sunday it is finished, half the pieces are missing, and the child who was so keen about it has gone back to a screen. Most kits are designed for one sitting. They come with a fixed project, just enough material to complete it, and nothing left over.
Clay is different, and that is the whole point. There is no fixed project. A block of clay can be a dinosaur on Monday and a bowl on Wednesday, and if the dinosaur is a disaster it gets squashed and tried again. Nothing is wasted. The only real limit on a clay kit is how many colours it gives you and how easy the clay is to actually shape.
That is where plenty of cheaper sets fall down. Six colours sounds fine until a child wants to build a whole scene and everything ends up the same shade of blue. Hard clay is worse. If a small child has to fight the material, they give up in about four minutes and you never get it out of the cupboard again.
How air dry clay works
Air dry clay hardens through evaporation. The moisture in the clay leaves slowly as it sits in open air, and what is left behind is firm. There is no oven, no kiln, no heat setting to get wrong. You make the thing, you put it on a flat surface, you leave it alone.
This matters practically. Polymer clay needs baking, which means an adult has to be free at the right moment and the oven has to be clear. Air dry clay removes that step entirely. A child can finish a model at four in the afternoon and nobody has to do anything about it. That is why air drying clay with no baking tends to be the sensible choice for classrooms, holiday programs and homes where the kitchen is already busy.
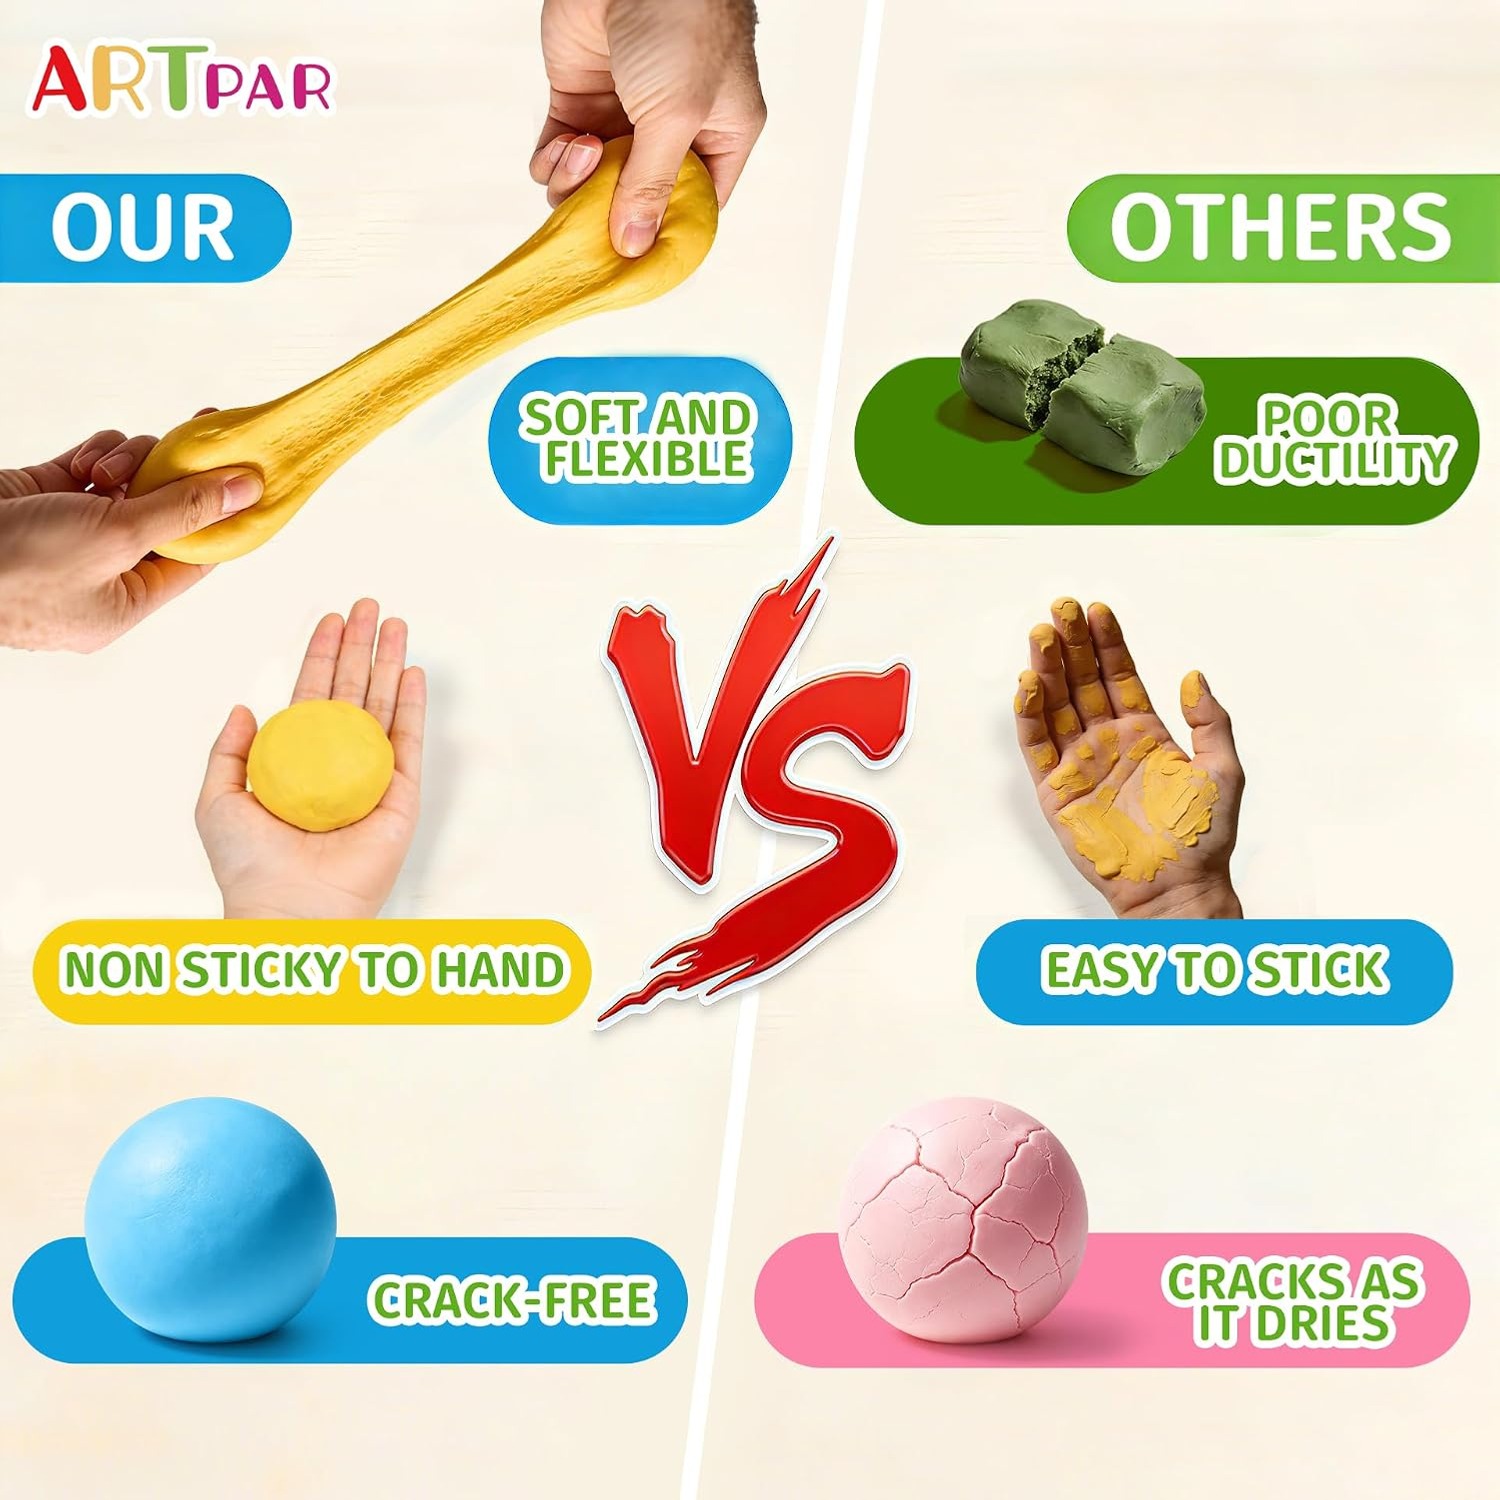
Drying time depends on thickness more than anything else. A flat little badge firms up fast. A solid fist-sized figure takes considerably longer, because the moisture in the middle has to make its way out. Thin walls dry faster and crack less, which is a useful thing to teach children early on.
One trade-off is worth knowing about. Air dry clay is not waterproof once dry. Finished pieces are decorative, not functional. They sit on a shelf nicely, but they are not going to hold tea.
What is in this kit
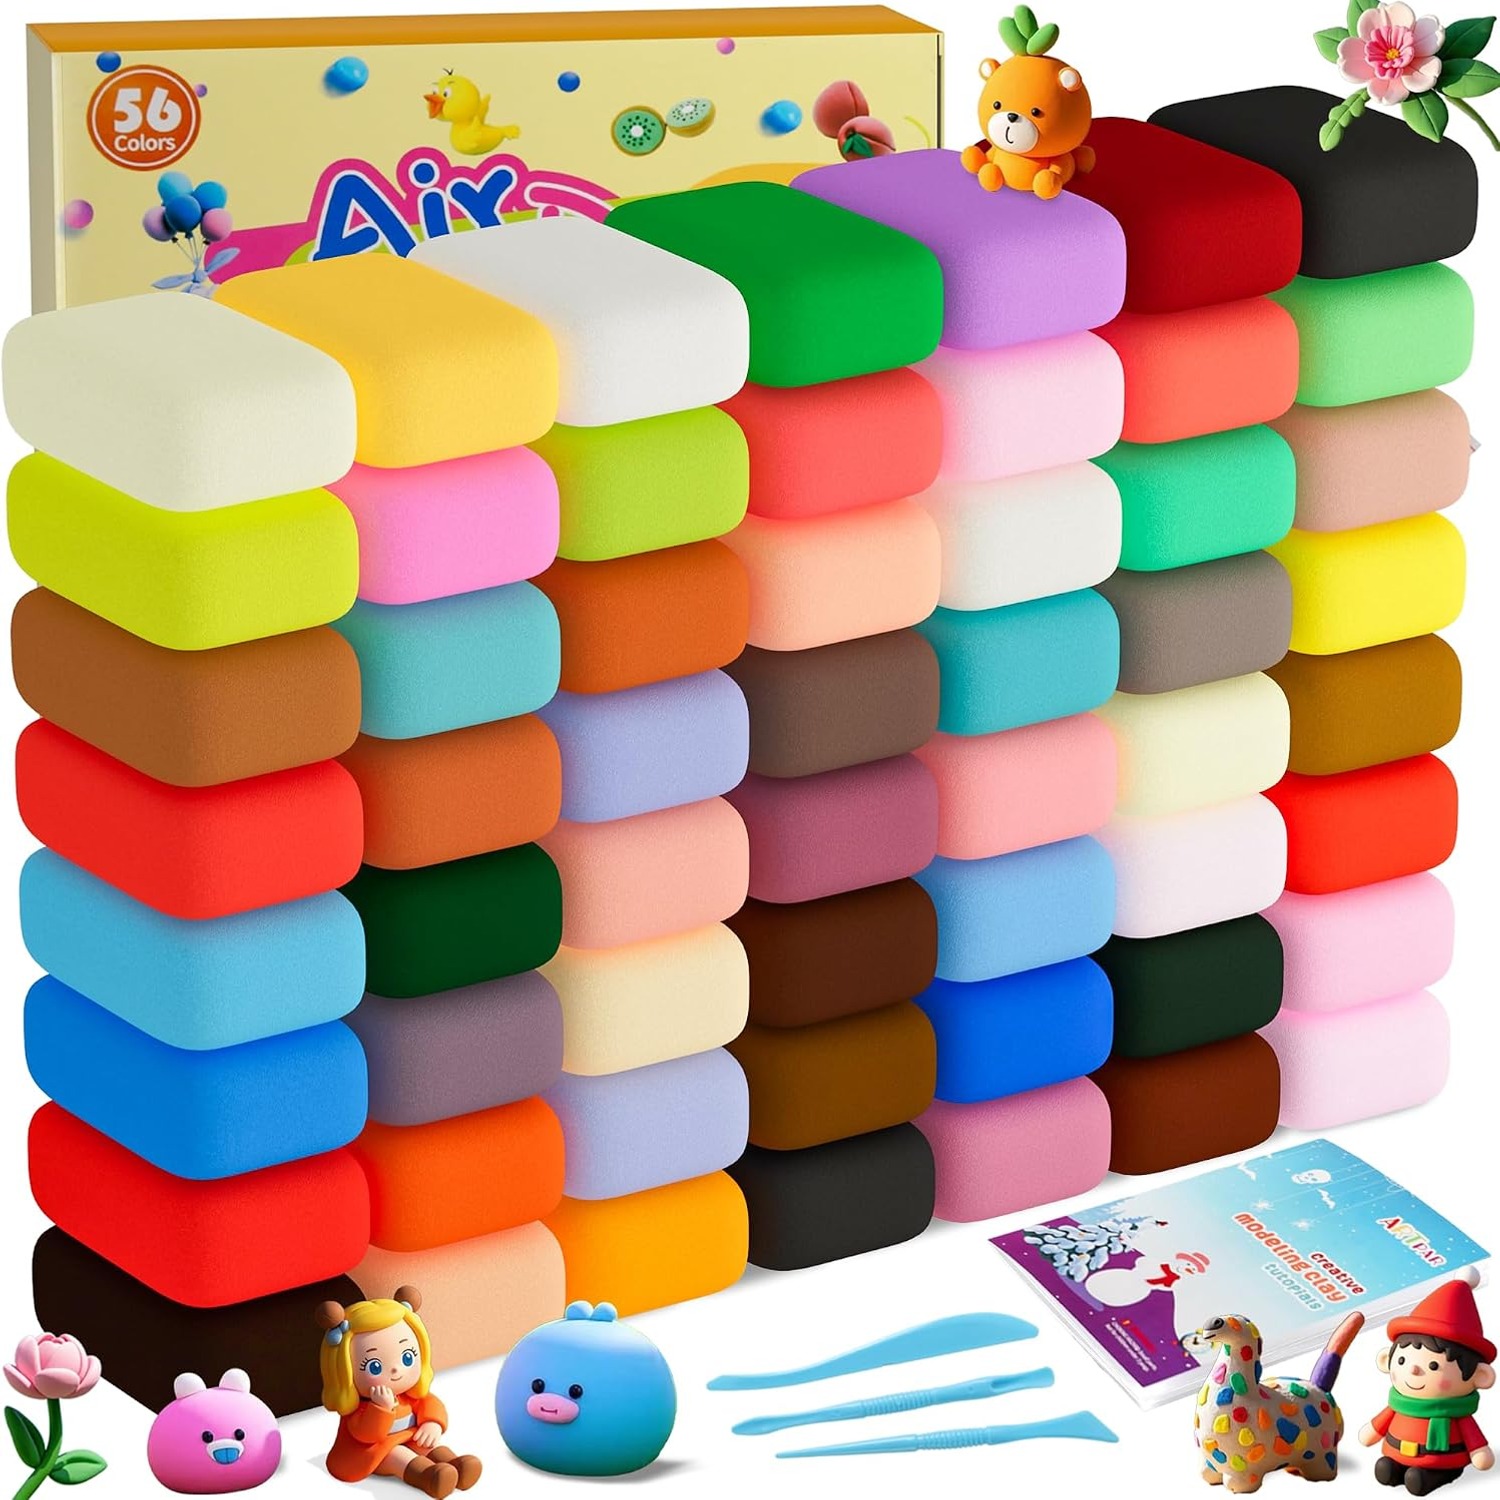
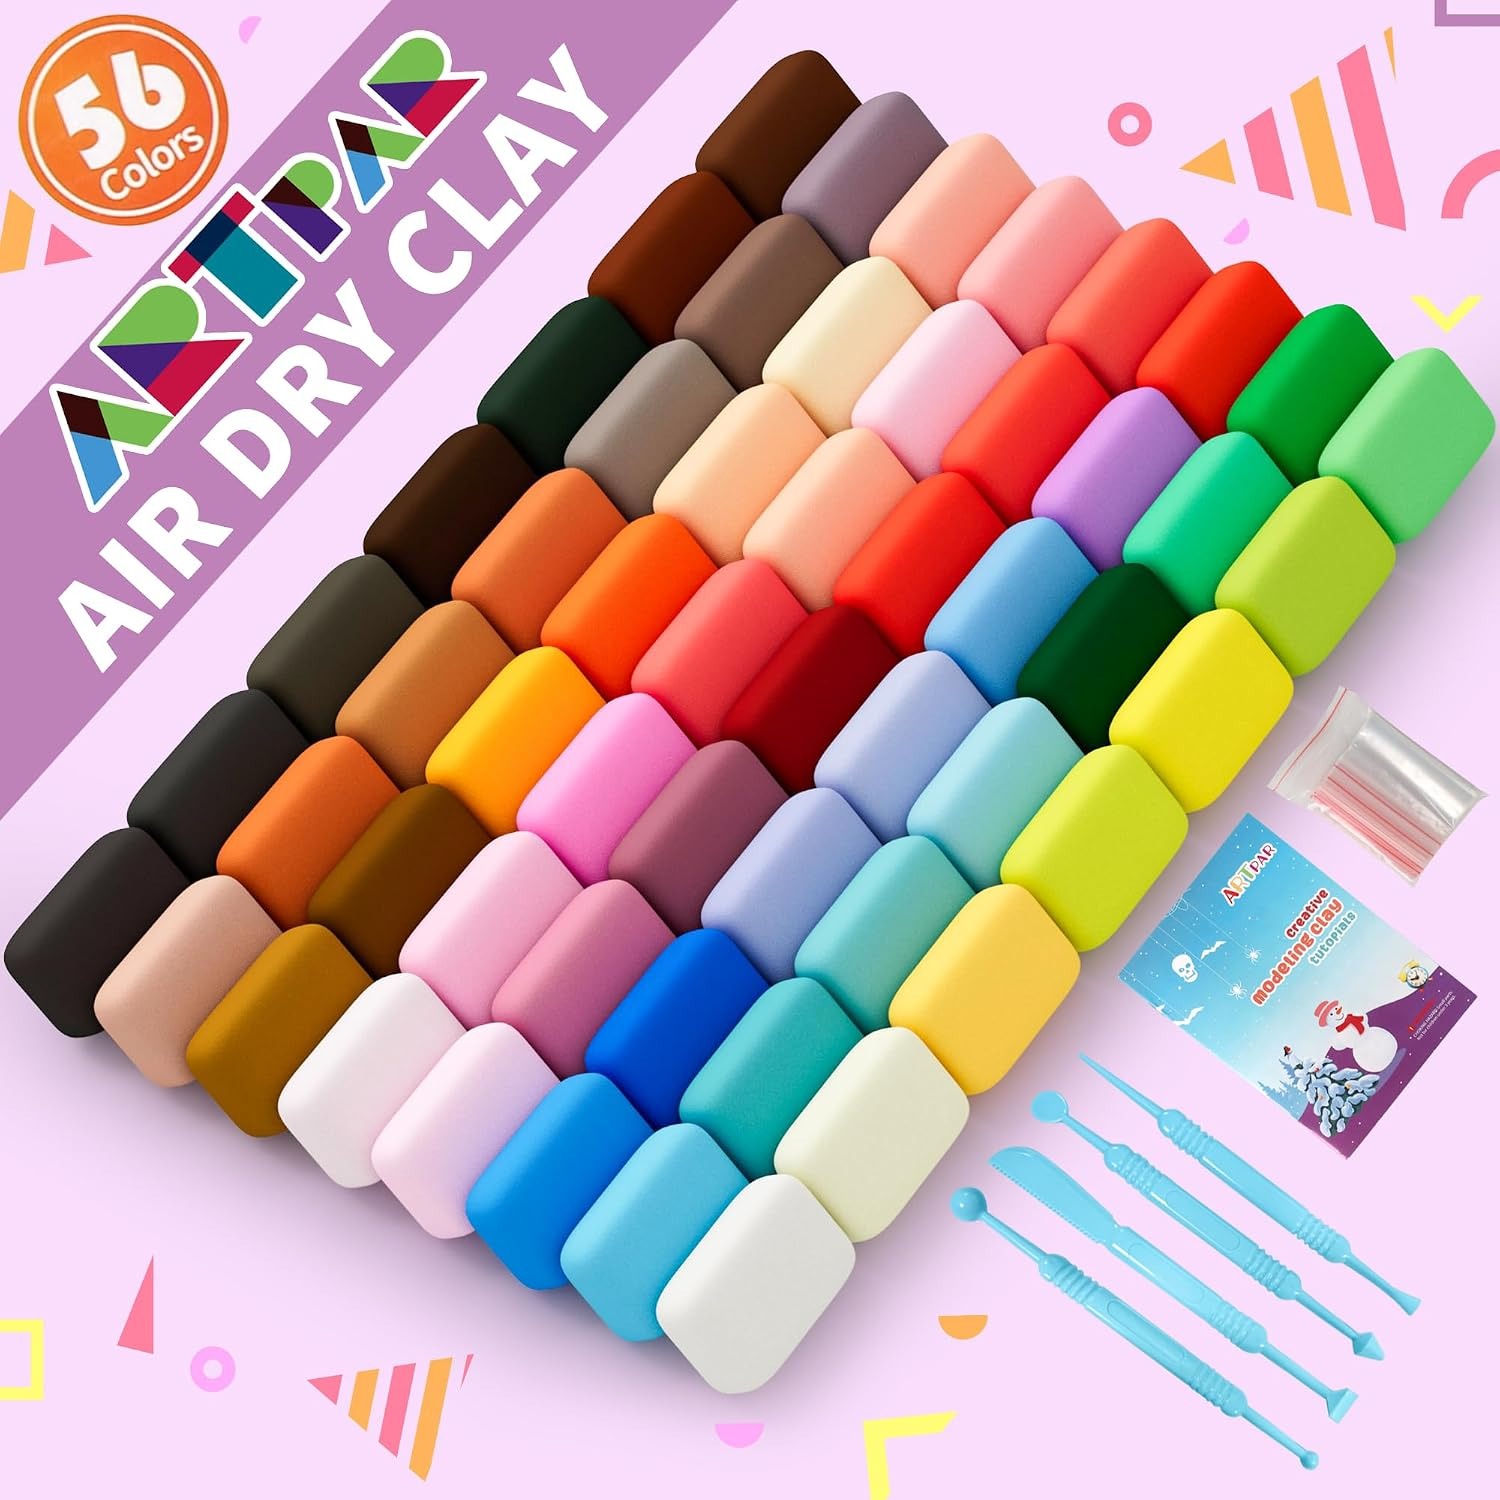
This one includes 56 colours of clay, three sculpting tools and an instruction booklet, with a resealable bag for storing what is left. The whole kit weighs 816 grams and comes in a box of 22.6 by 18.8 by 9.7 centimetres.
Fifty-six colours is a lot. For context, plenty of sets stop at twelve. The practical effect is that children rarely have to compromise. If the character in their head has a purple hat and lime green boots, those colours are in the box. And when they want something that is not, two blocks pressed together make a new shade, which quietly teaches colour mixing without anyone announcing a lesson.
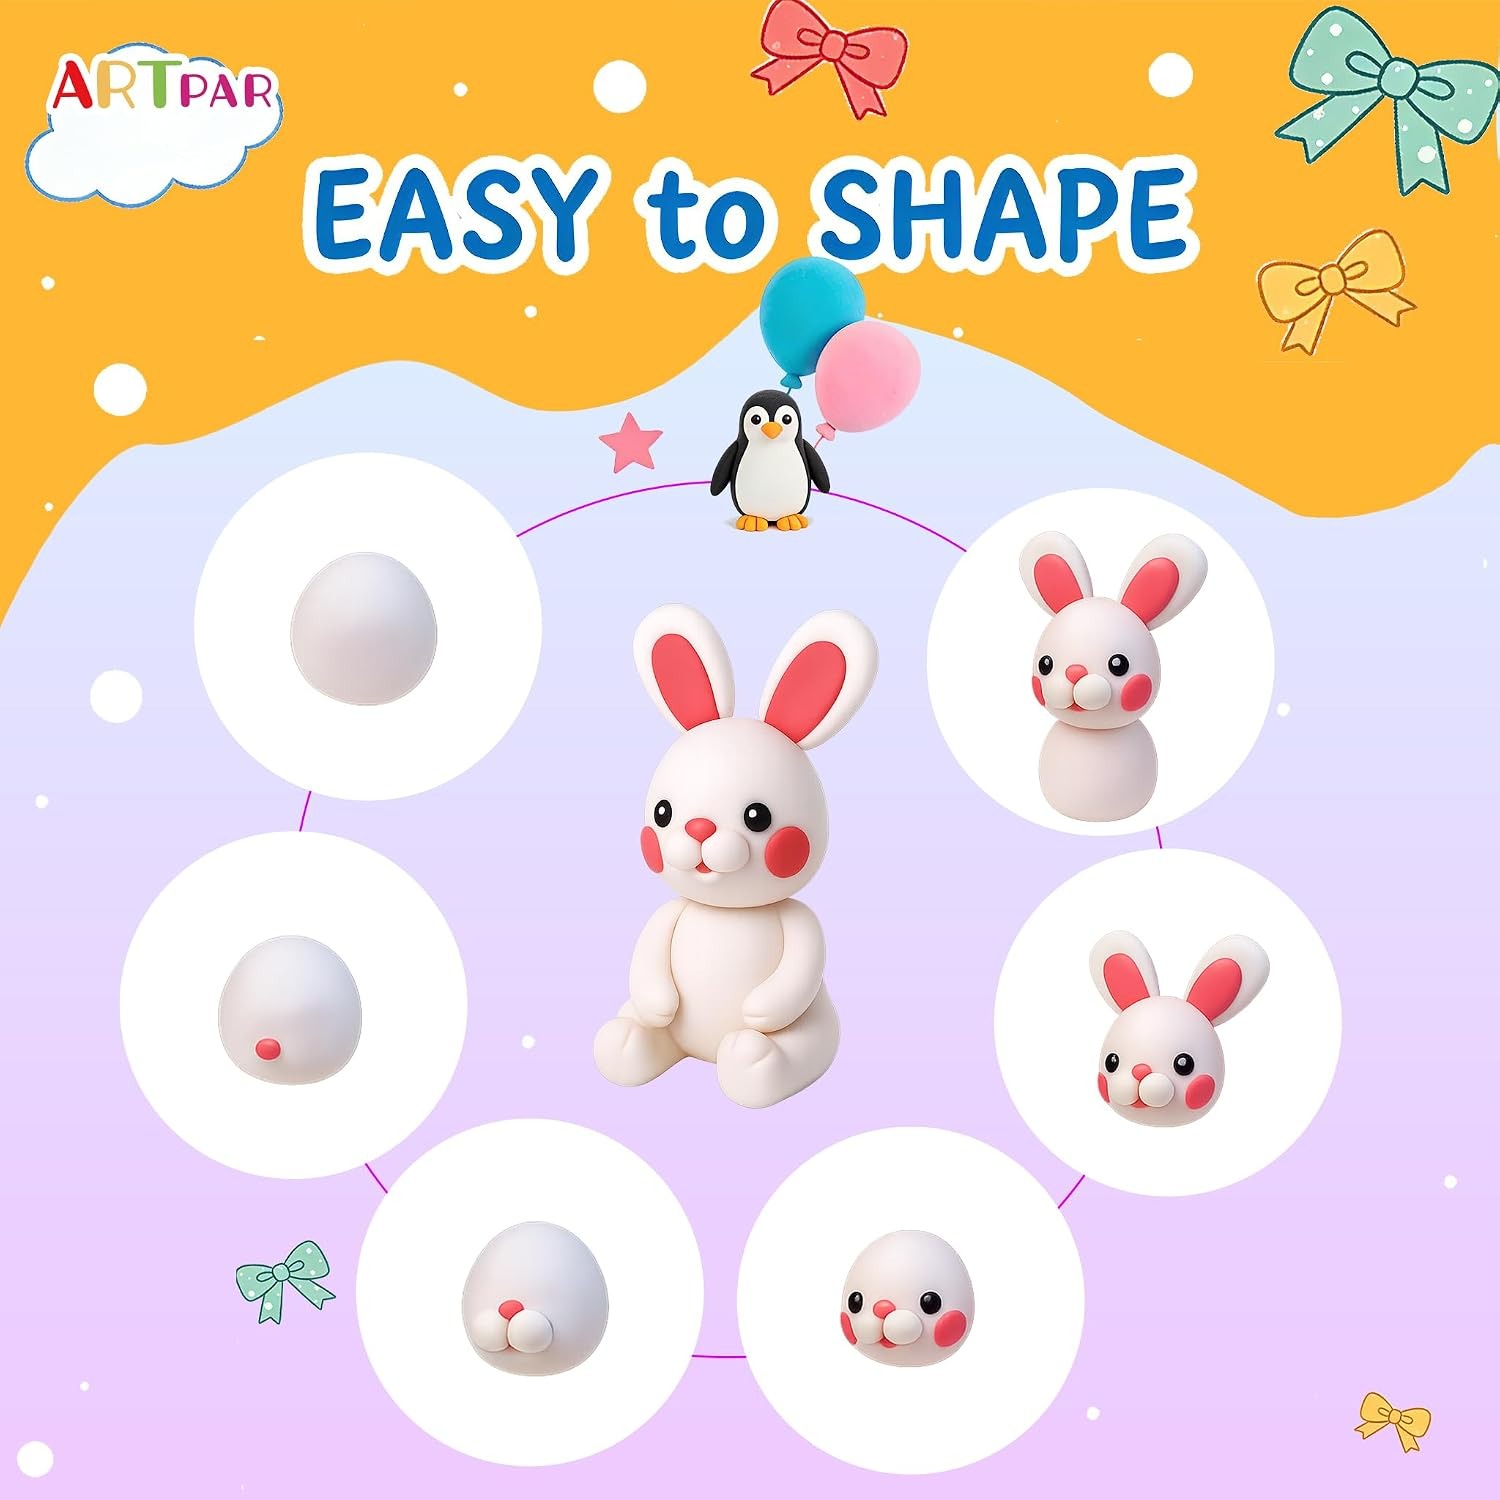
The three tools are the part people overlook. Hand-shaped clay tends to look like hand-shaped clay. Tools let a child cut clean edges, add texture, make eyes and separate pieces properly. The difference between a lump and a recognisable frog is usually one tool and two minutes. A clay kit with sculpting tools included saves you buying them separately later.
The booklet exists to solve the blank-page problem. A child staring at 56 colours sometimes freezes. Having something to copy on day one gets them started, and after a couple of projects most of them stop looking at it.
Who it suits
The listed age range is 36 months and up, covering kids, teens and adults. In practice the lower end needs supervision, not because of the clay but because small craft pieces and tools always need an adult nearby with a three year old. At that age the fun is mostly in squashing, rolling and poking rather than building anything specific, and that is fine.
From about five or six, children start making recognisable objects and using the tools properly. By eight or nine many will work through the booklet and then go off and invent their own things entirely. Teens and adults use kits like this for small ornaments, keyrings, fridge magnets and gift decorations.
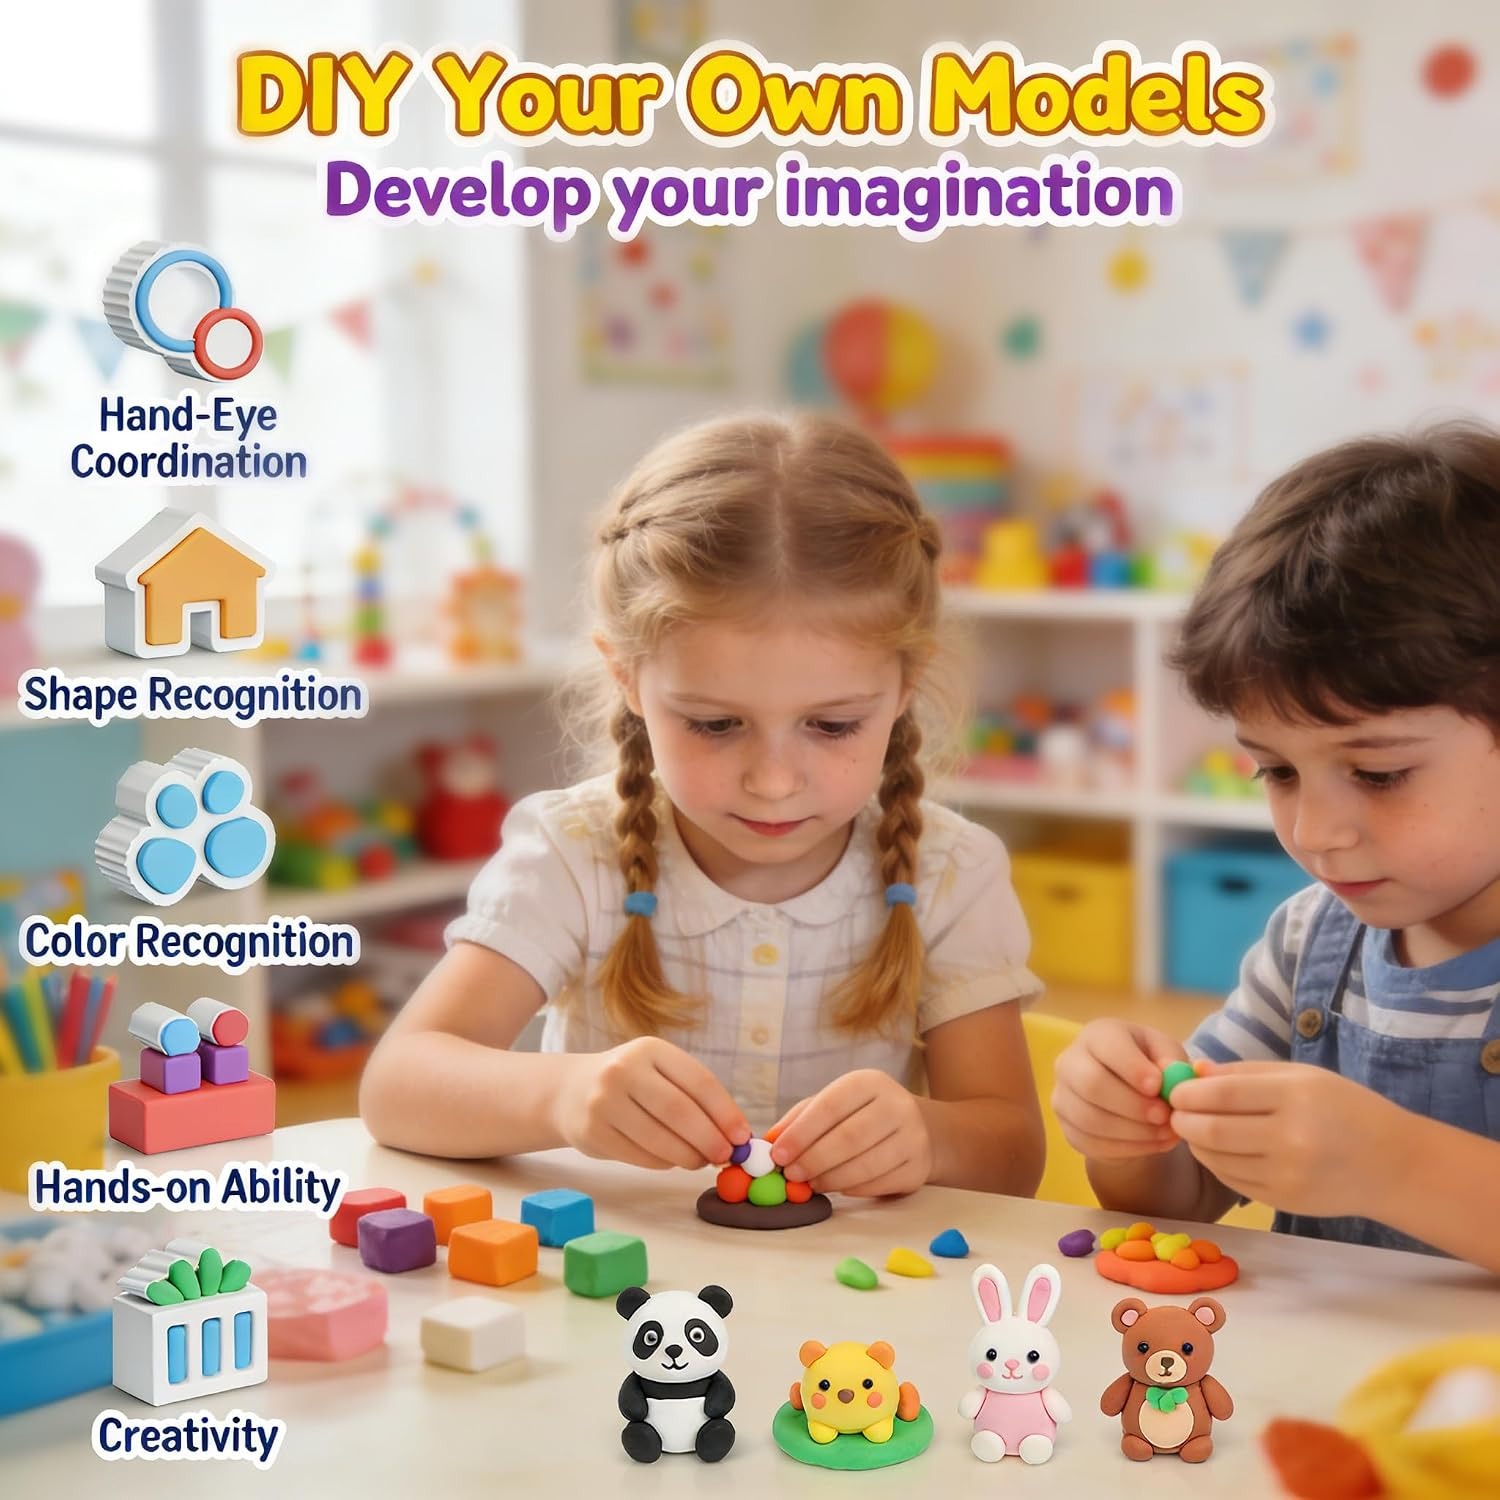
It also works well as a group activity. Fifty-six colour blocks divide neatly between several children, which makes it a reasonable option for classroom clay supplies, a birthday table or a wet-weather holiday program. If you are covering a full class, two kits is a safer bet than one.
How to choose between clay sets
A few things actually matter when you compare options.
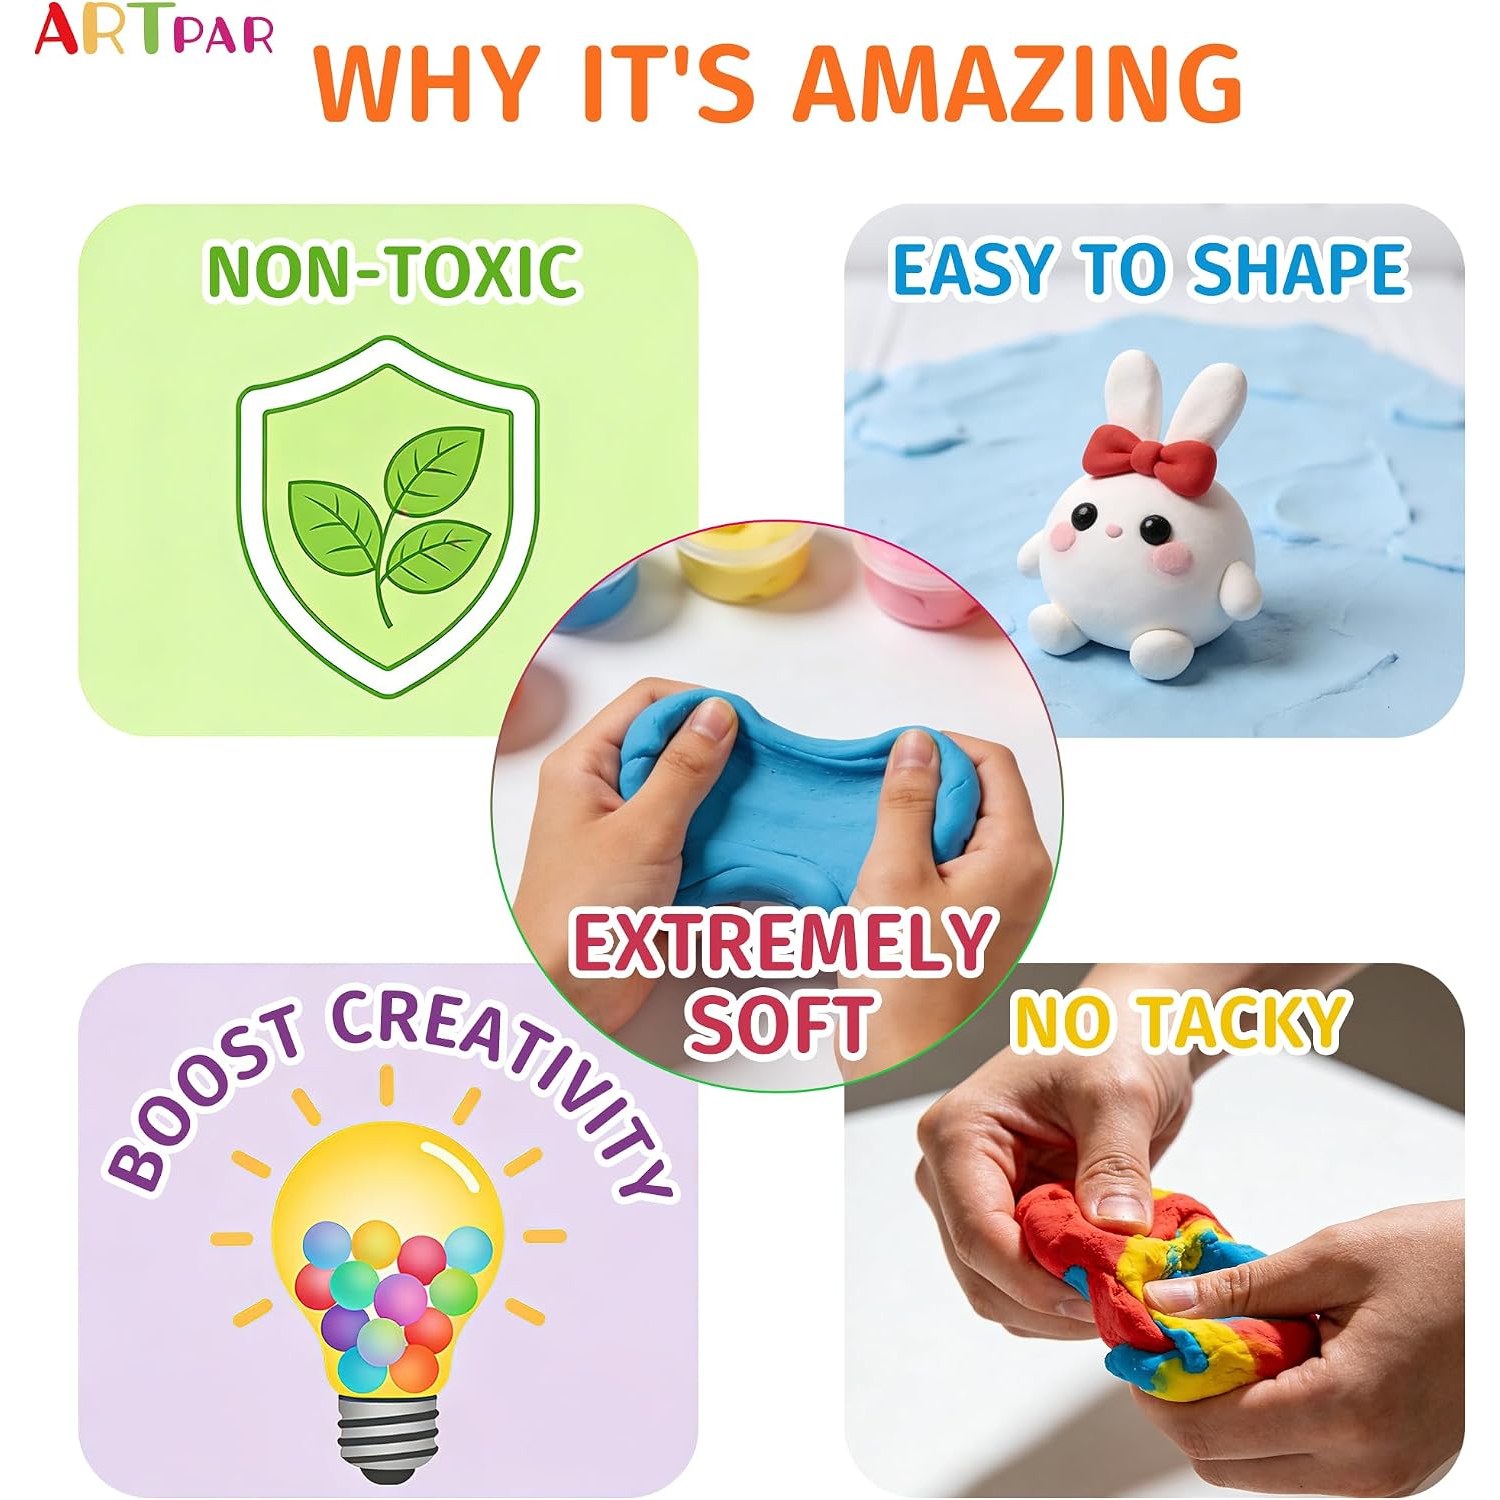
Softness comes first. If the clay is stiff, children cannot shape it and the kit dies in a drawer. This one is described as soft and non-sticky, which is the balance you want, firm enough to hold a shape but yielding enough for small hands.
Colour count comes second, and it is less about the number and more about the range. A set with 56 colours means less mixing frustration and more building.
Third, check whether tools are included. Buying a set and then discovering you need a separate tool pack is annoying and adds to the cost.
Fourth, look at how the clay is packaged for storage. Clay that comes loose in a tub starts drying the moment it is opened. Individually wrapped blocks plus a resealable bag, as here, keep the unused portion workable for the next session.
Finally, think about whether you want baking or not. If you want something a child can complete start to finish without adult involvement, air dry is the answer.
Looking after it
The main job is keeping unused clay sealed. Press the air out of the wrapper or the resealable bag before closing it, and store the box somewhere that does not get hot. Clay that has gone slightly firm can usually be kneaded soft again with warm hands. Clay that has fully hardened cannot be brought back.
For drying finished pieces, flat and patient is the rule. Put the model on a flat surface, keep it away from direct heat like a heater or a sunny windowsill, and leave it until it is firm all the way through. Rushing the drying with heat is how cracks happen.
Dried models should be stored somewhere dry. Damp conditions soften air dry clay over time, so a bathroom shelf is a bad spot. Wipe the sculpting tools with a damp cloth and dry them rather than soaking them, and keep them in the box so they do not vanish.
Cleanup during a session is easy enough. A tray, placemat or sheet of baking paper under the work area catches most of it. Dry crumbs sweep up, and surfaces wipe with a damp cloth.
The short version
If you want one craft purchase that keeps giving, clay is the sensible pick, and colour range plus softness are what separate a good kit from a forgotten one. This one gives you 56 colours, three tools and a booklet in a single box, with clay that is soft enough for a three year old and no baking step for anyone to manage.
It is a decent gift, a solid rainy day craft kit, and a reasonable option for a group of children who all want to make something different. Keep the leftovers sealed, let the finished pieces dry slowly, and the same box will come out of the cupboard again and again.