

The complete guide
How To Choose And Fly A DIY Kite Making Kit
The problem with most craft kits
Most craft kits end the same way. The child makes something, everyone admires it for about four minutes, and then it sits on a shelf collecting dust until someone quietly puts it in the bin. The making was fun. The thing itself has nowhere to go.
A kite is different because the craft is only half the activity. The child draws on a blank sail, which is the quiet, indoor, concentrating part. Then everyone puts shoes on and goes outside, and the drawing they just made climbs into the sky on the end of a string. The object they made actually does something. That is a rare quality in a craft kit, and it is the main reason kite kits keep selling long after other craft trends have come and gone.
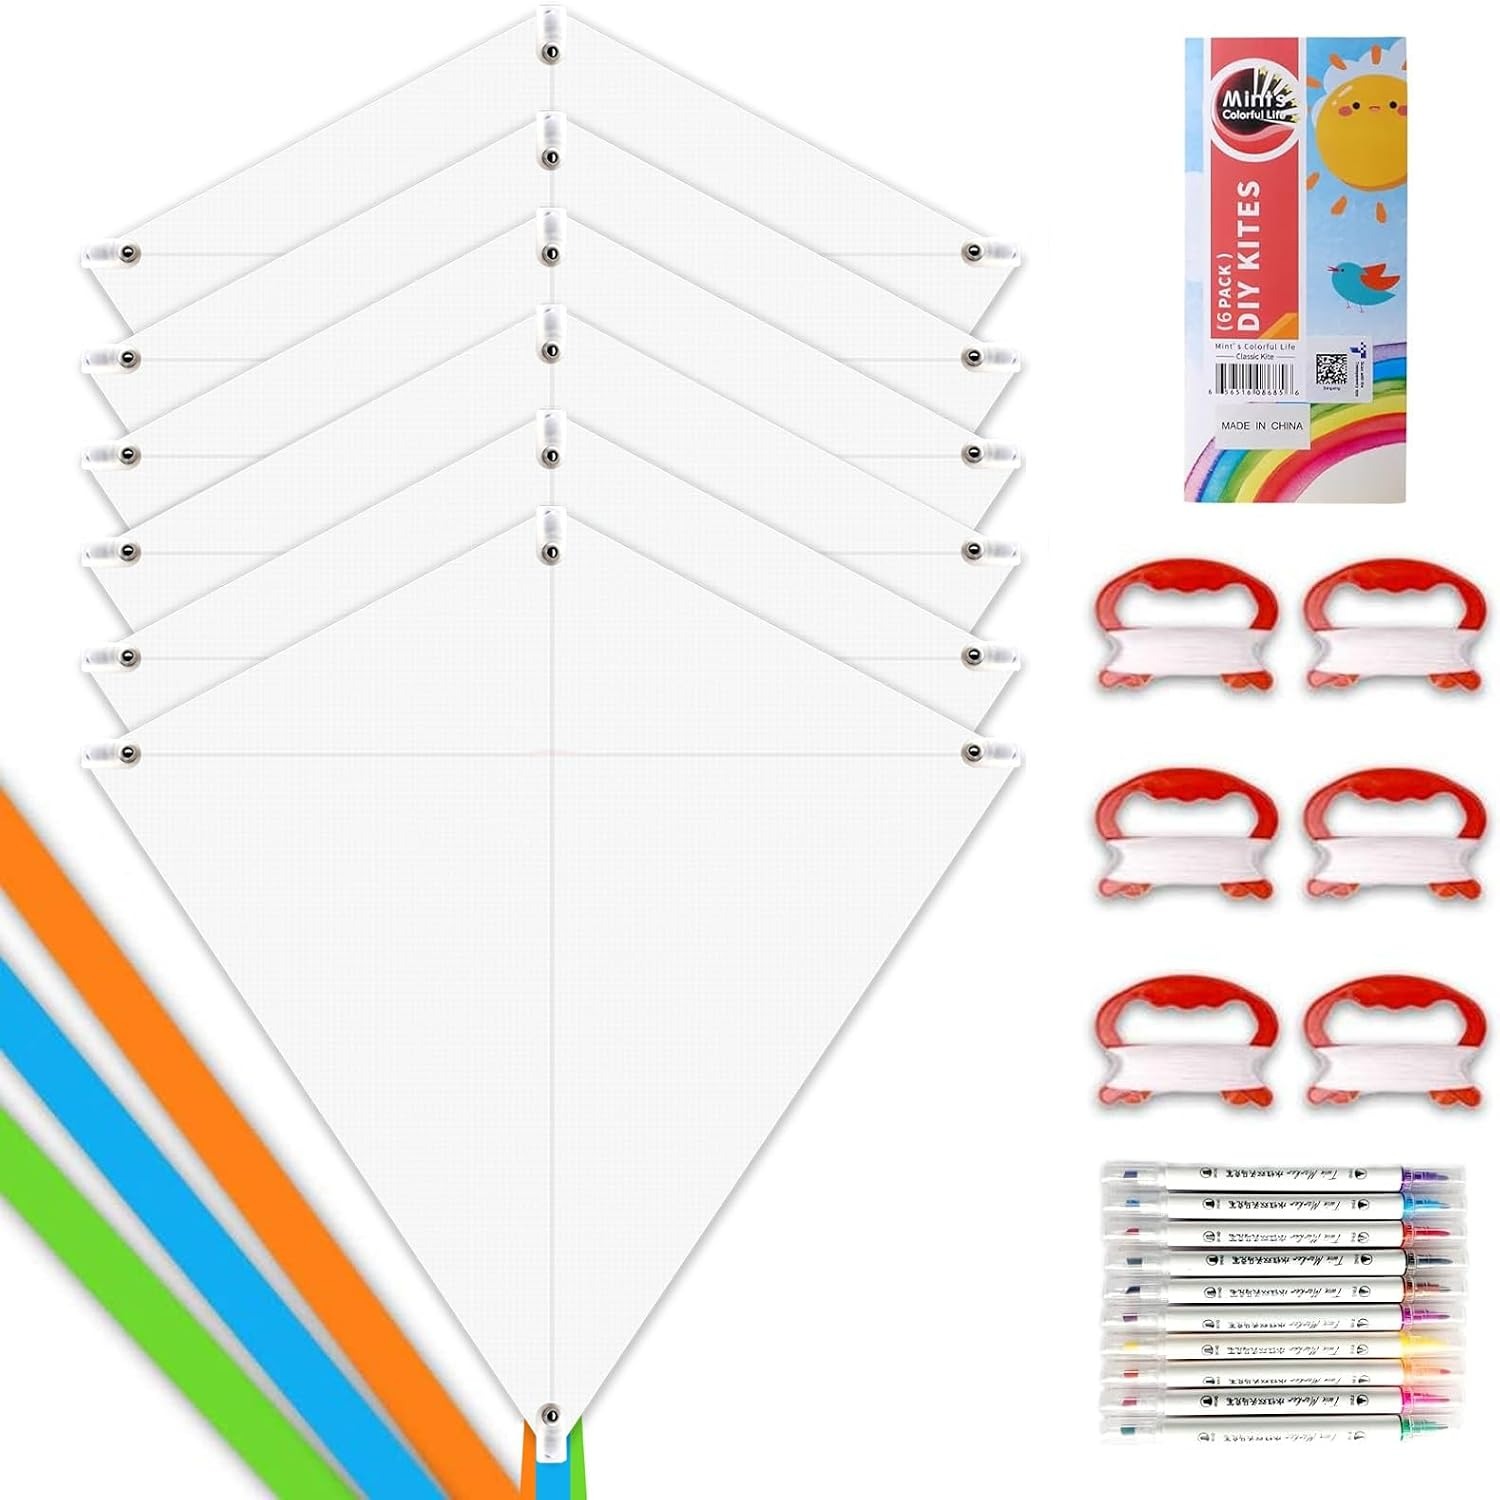
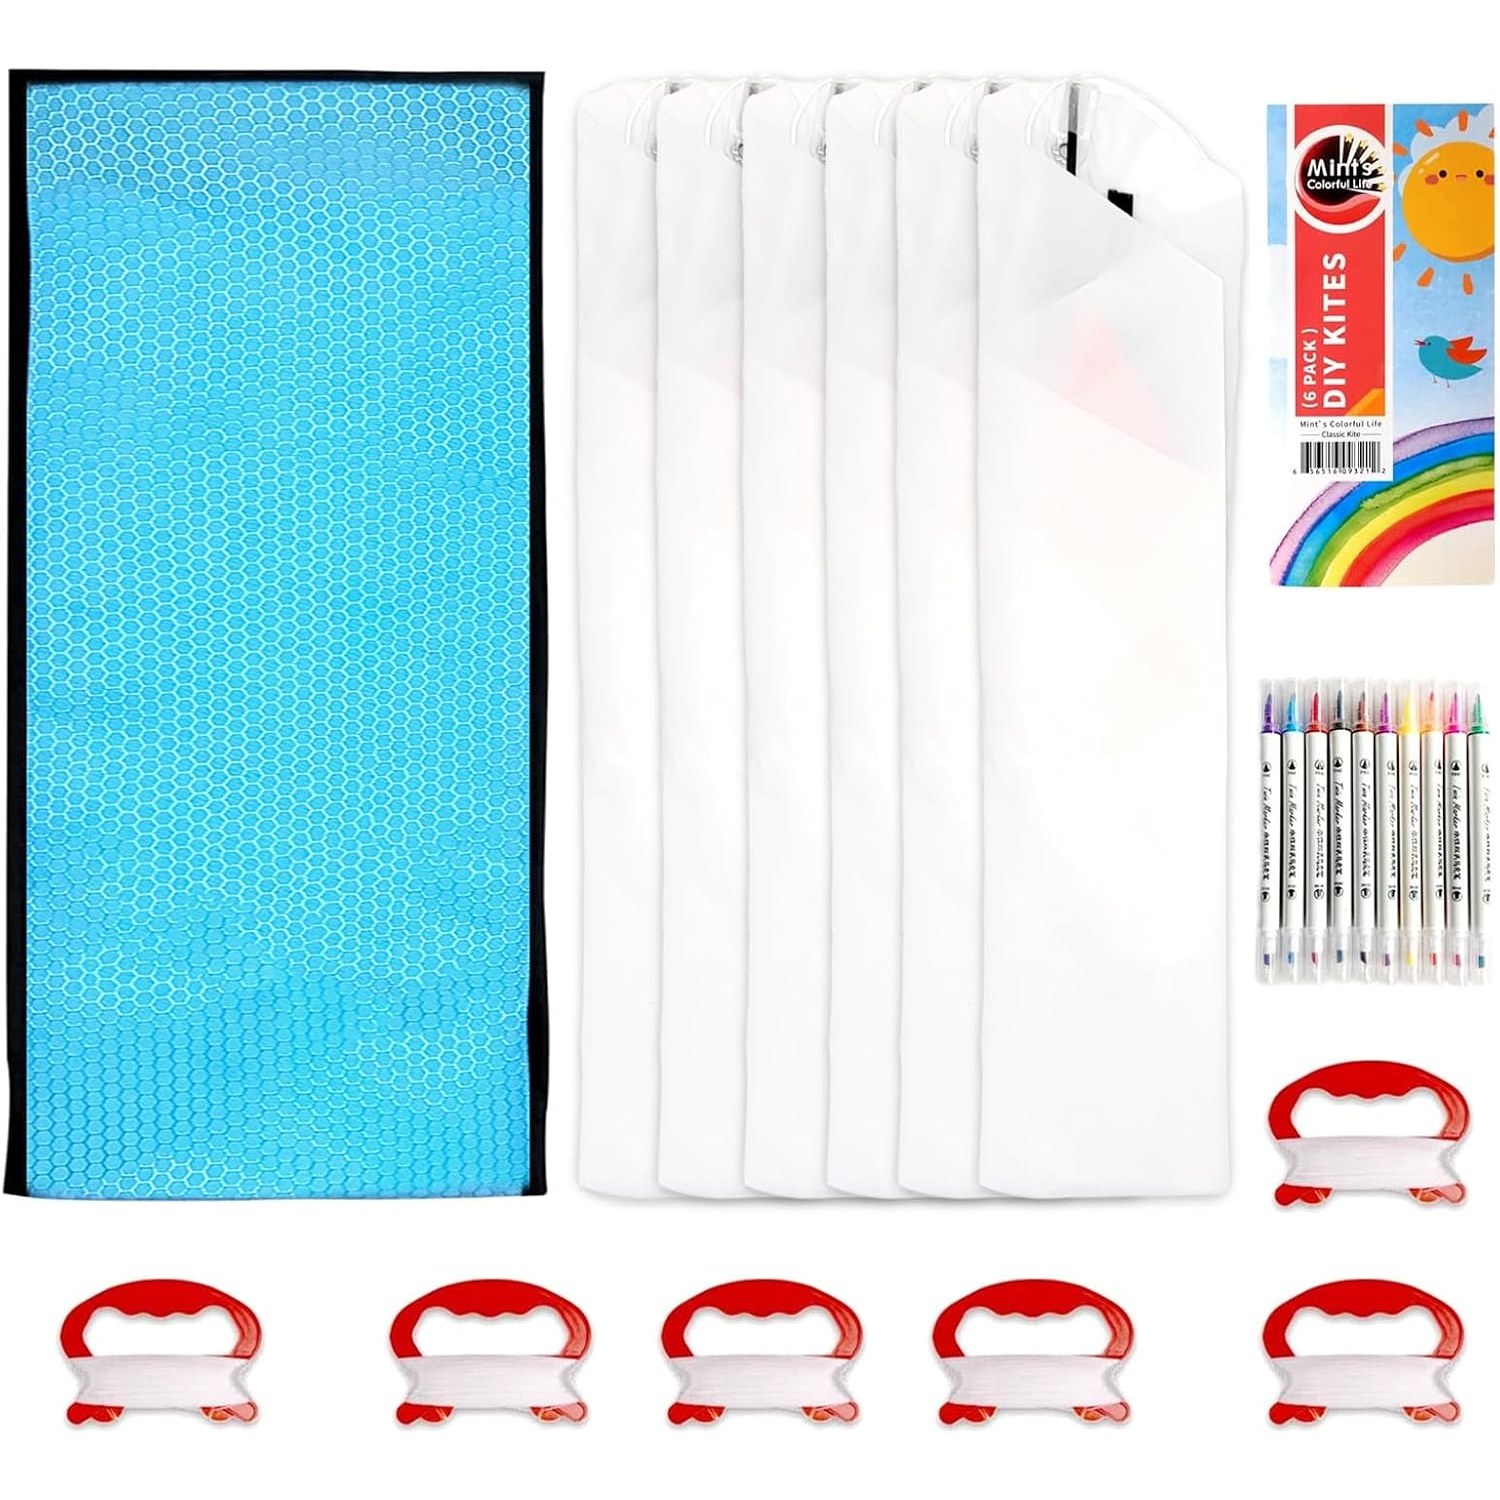
This particular kit contains six blank white diamond kites, markers to decorate them, ribbon tails and self adhesive stickers. Each sail is 63.5 cm across and the whole set folds down to 0.3 cm thick at 299 g, which is roughly the weight of a paperback.
How a diamond kite actually works
The diamond is the shape everyone draws when you ask them to draw a kite, and it is popular because the physics are forgiving. Two spars cross to hold the sail taut. The wind hits the angled surface, pushes it up and back, and the line holds it in place so the kite climbs rather than tumbling away.
The bridle, the short length of line attached to the face of the kite, sets the angle at which the sail meets the wind. Too flat and the kite will not lift. Too steep and it stalls and falls. The factory setting on a kit kite is usually right for average conditions, so leave it alone until you have given it a fair go.
The tail is the part people underestimate. Those ribbons are not decoration. They add drag at the bottom of the kite, which keeps the nose pointed up and stops it spinning. If a diamond kite is rolling over and diving into the ground, nine times out of ten the tail is missing, too short or tangled. Add length and the problem usually disappears.
A single line keeps all of this simple. There is nothing to steer and no second hand to coordinate. The child pulls, the kite goes up. That direct relationship is what makes a single line diamond the sensible first kite for anyone, and it is why this format turns up again and again in school programs.
Who this kit suits
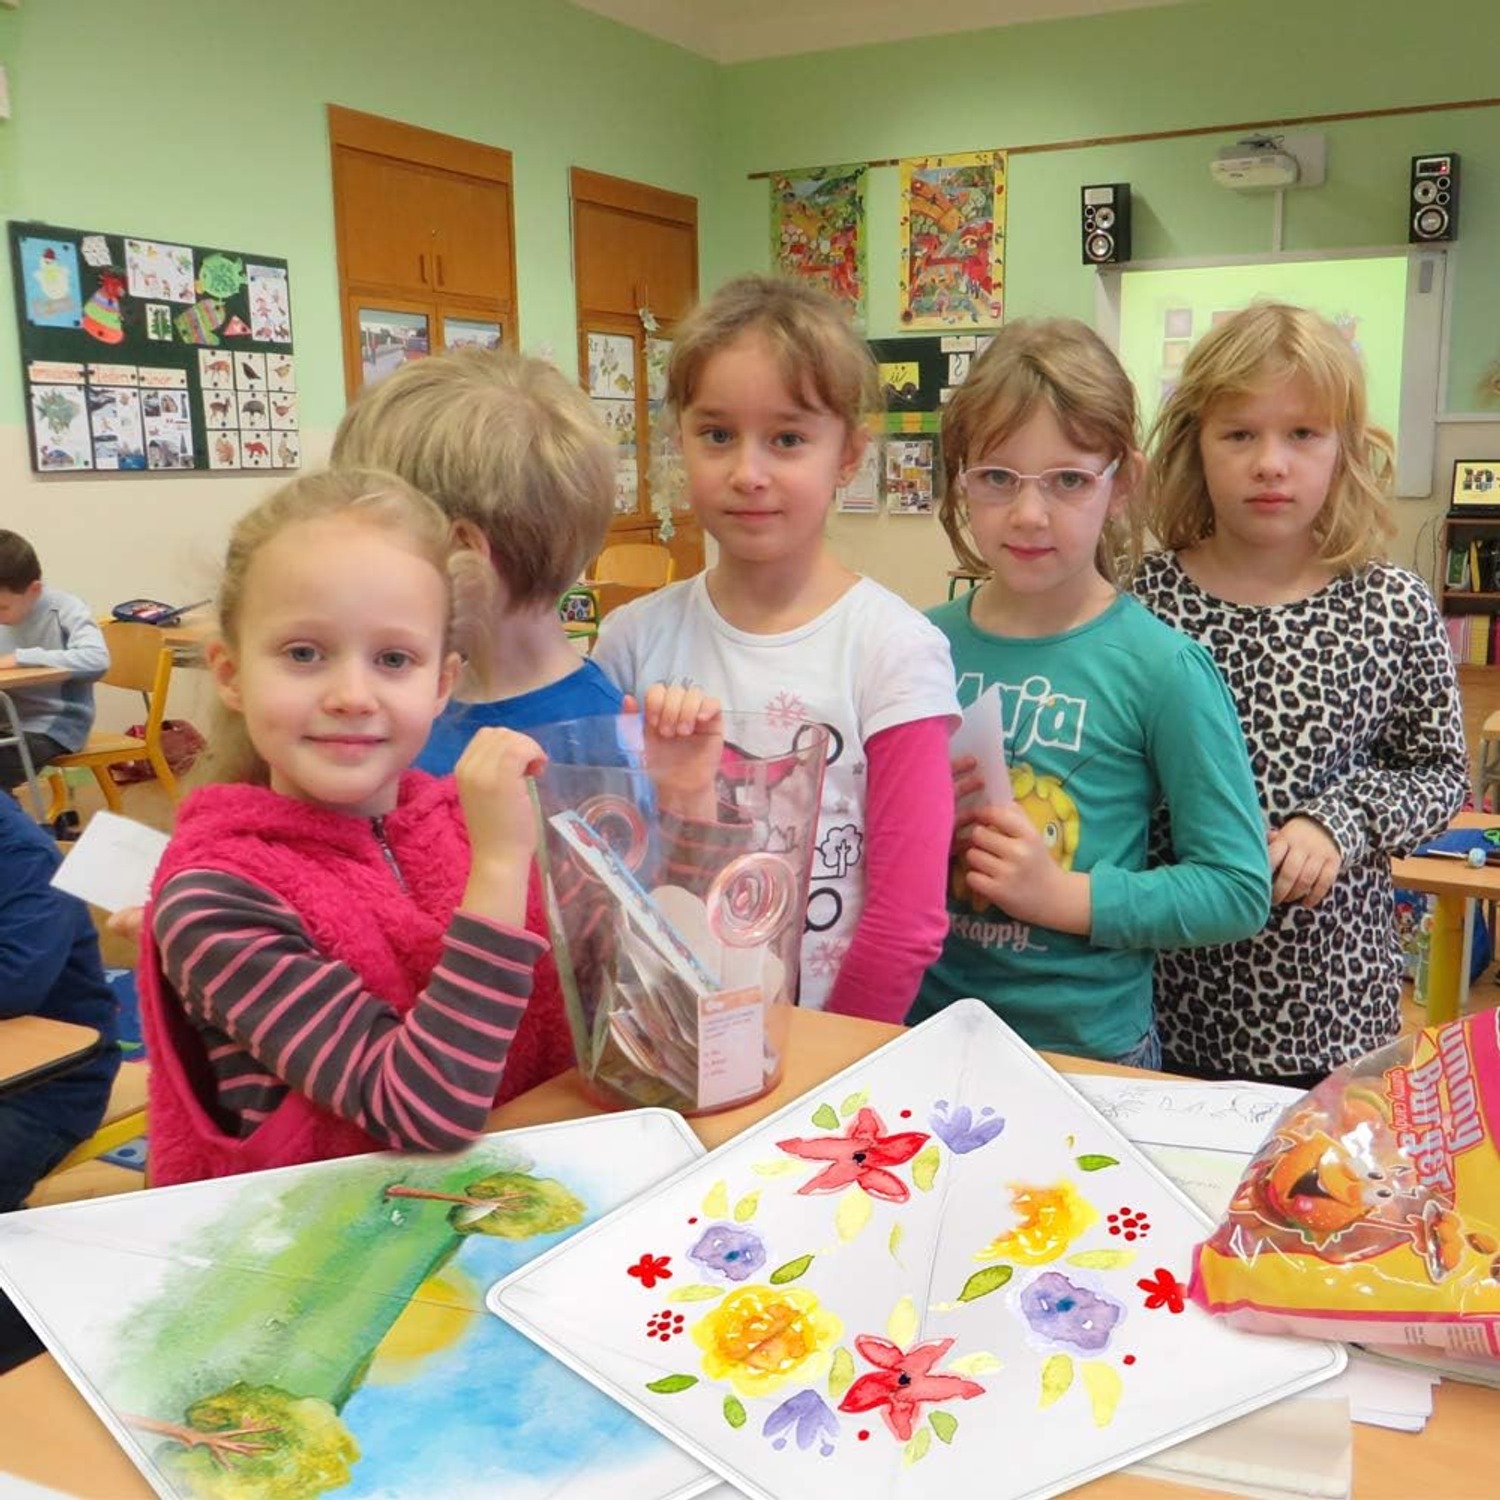
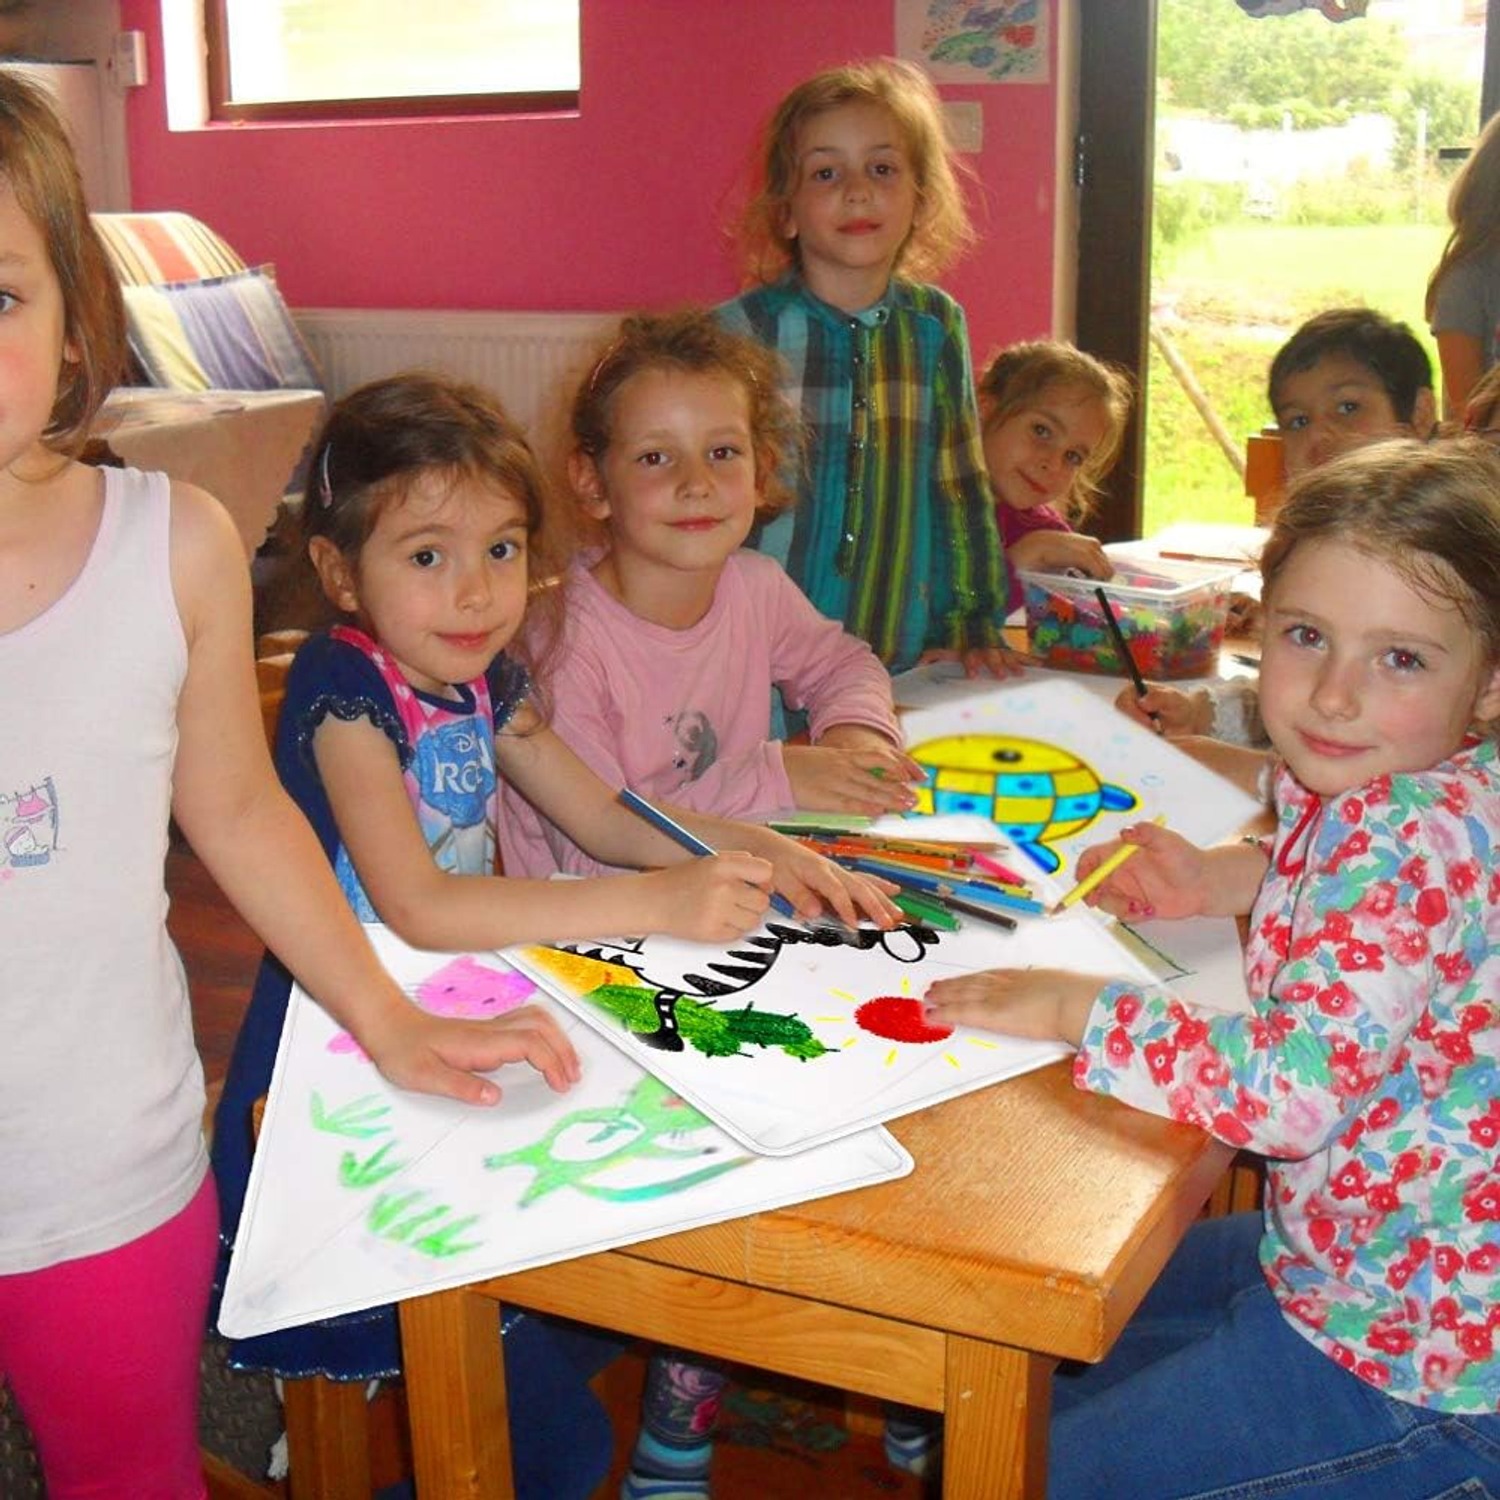
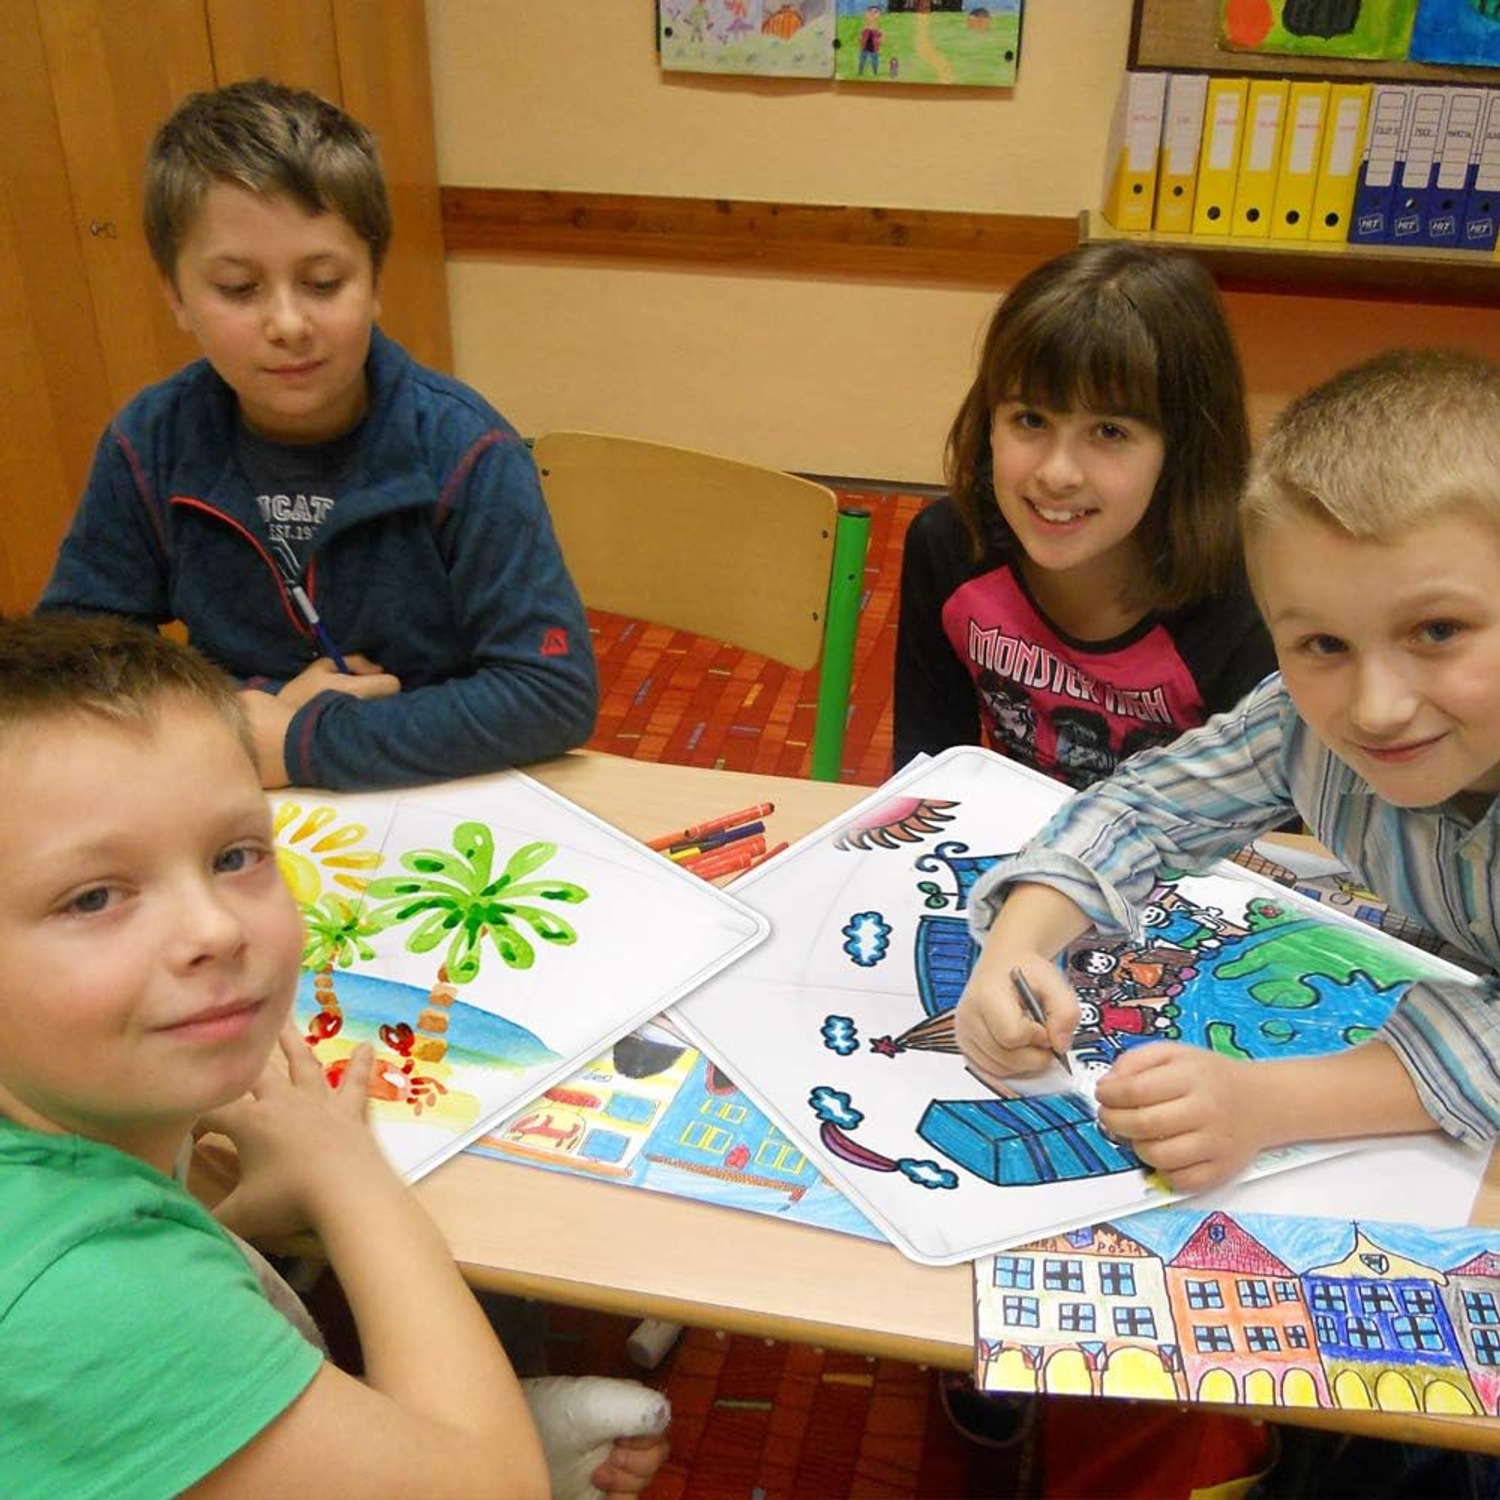
Six kites in a box points this kit at groups rather than individuals. It suits a birthday party where you want an activity that fills more than twenty minutes, a classroom group doing an art and science crossover, a holiday house full of cousins, or a family with three or four children who would rather not share.
It also suits parents who want an activity with an outdoor finish. Plenty of families do fine getting children to sit and draw. Getting them off the couch afterwards is the harder part, and a kite they have personally decorated is a strong argument for leaving the house.
Age wise, the maker describes it for kids and youth without giving a number. Realistically, a five year old can colour a sail happily and will need an adult to assemble and launch. A nine or ten year old can usually run the whole process alone. Teenagers decorate with more detail and fly higher, because they have the patience to let line out slowly.
It is not the right kit for someone who wants a performance kite. If you are after stunt flying, loops and tricks, you want a dual line delta or a parafoil, not a decorated diamond. This is about the making as much as the flying.
Choosing between kite kits
A few things separate a good kit from a frustrating one.
Sail size matters more than most listings admit. A very large kite pulls hard and intimidates small children. A tiny one needs strong wind to lift at all. The 63.5 cm span here sits in the practical middle, big enough to catch a light breeze and small enough for a child to control.
Pack size is the second thing. A single kite kit is cheaper, but it only works for one child. If there is any chance of two or more children wanting to join in, a multipack saves an argument and usually costs less per kite than buying singles.
The decorating medium is worth a thought too. Markers go on fast, dry instantly and add almost no weight. Paint looks lovely but adds drying time and, if applied thickly, can stiffen a sail and throw off the balance. This kit is built around markers, which is the practical choice for a group session.
Finally, look at how flat it packs. A kit that folds down travels, and a kit that travels gets used on the beach holiday where there is actually wind. At 0.3 cm thick, this one slides into a suitcase without a decision being made about whether it is worth the space.
Getting the first flight right
Pick your spot before anything else. You want open ground with nothing tall upwind, so a park, a sports field or a wide beach. Trees and buildings create rolling, broken air for a surprising distance downwind, and that broken air is what causes most first flight disappointment. Stay well clear of power lines, always.
Judge the wind before you commit. If leaves are moving and a flag is lifting steadily, you are in good shape. If the air is dead still, no kite in the world will help. If it is gusting hard enough to flap your jacket, a light kite will fight you and a child will lose interest fast.
To launch, stand with your back to the wind. Have a helper walk about ten metres downwind holding the kite up, let out a little line, then pull hand over hand as they let go. The kite should climb. Feed line out slowly as it rises, and resist the urge to run. Running is what people do in films. In real life, steady line tension does the work.
If it dives repeatedly, check the tail first, then move to cleaner air. Those two fixes cover almost every problem.
Looking after them
Kites last longer than people expect if they are treated with a bit of thought. Let the sail dry fully before packing it away, because a damp kite folded into a bag will go musty. Keep the spars straight, not bent into a backpack. Store the kites flat or loosely rolled rather than crushed under other toys.
Check the line before each flight. Fraying near the handle is common and easy to miss, and a line that snaps at height means a kite in someone else's garden.
Cap the markers properly and lay them flat. Markers stored nib up dry out faster than markers stored on their side.
Small tears in a sail can be taped on both sides with clear adhesive tape. The patch weighs nothing and the kite will fly the same. Nobody needs to throw away a kite over a ten centimetre rip.
The short version
Six blank diamond kites, markers, stickers and tails in one flat, light package. The children decorate at the table, then everyone goes outside and the drawing flies. It travels well, it works for groups, and the single line diamond shape is the gentlest introduction to kite flying there is.
Pick a park with clear air and a steady breeze, attach the tails, and let the line out slowly. That is most of the skill. The rest is just a good afternoon.