
The complete guide
How to Choose an Electric Circuit Motor Kit for Kids
The problem with teaching electricity on paper
Ask most children what electricity is and they will say something about plugs and batteries. Ask them to explain why a bulb lights, and the answer gets vague. That is not a failure of attention. Electricity is invisible, and the usual way we teach it, with arrows on a diagram, asks a child to trust something they cannot see.
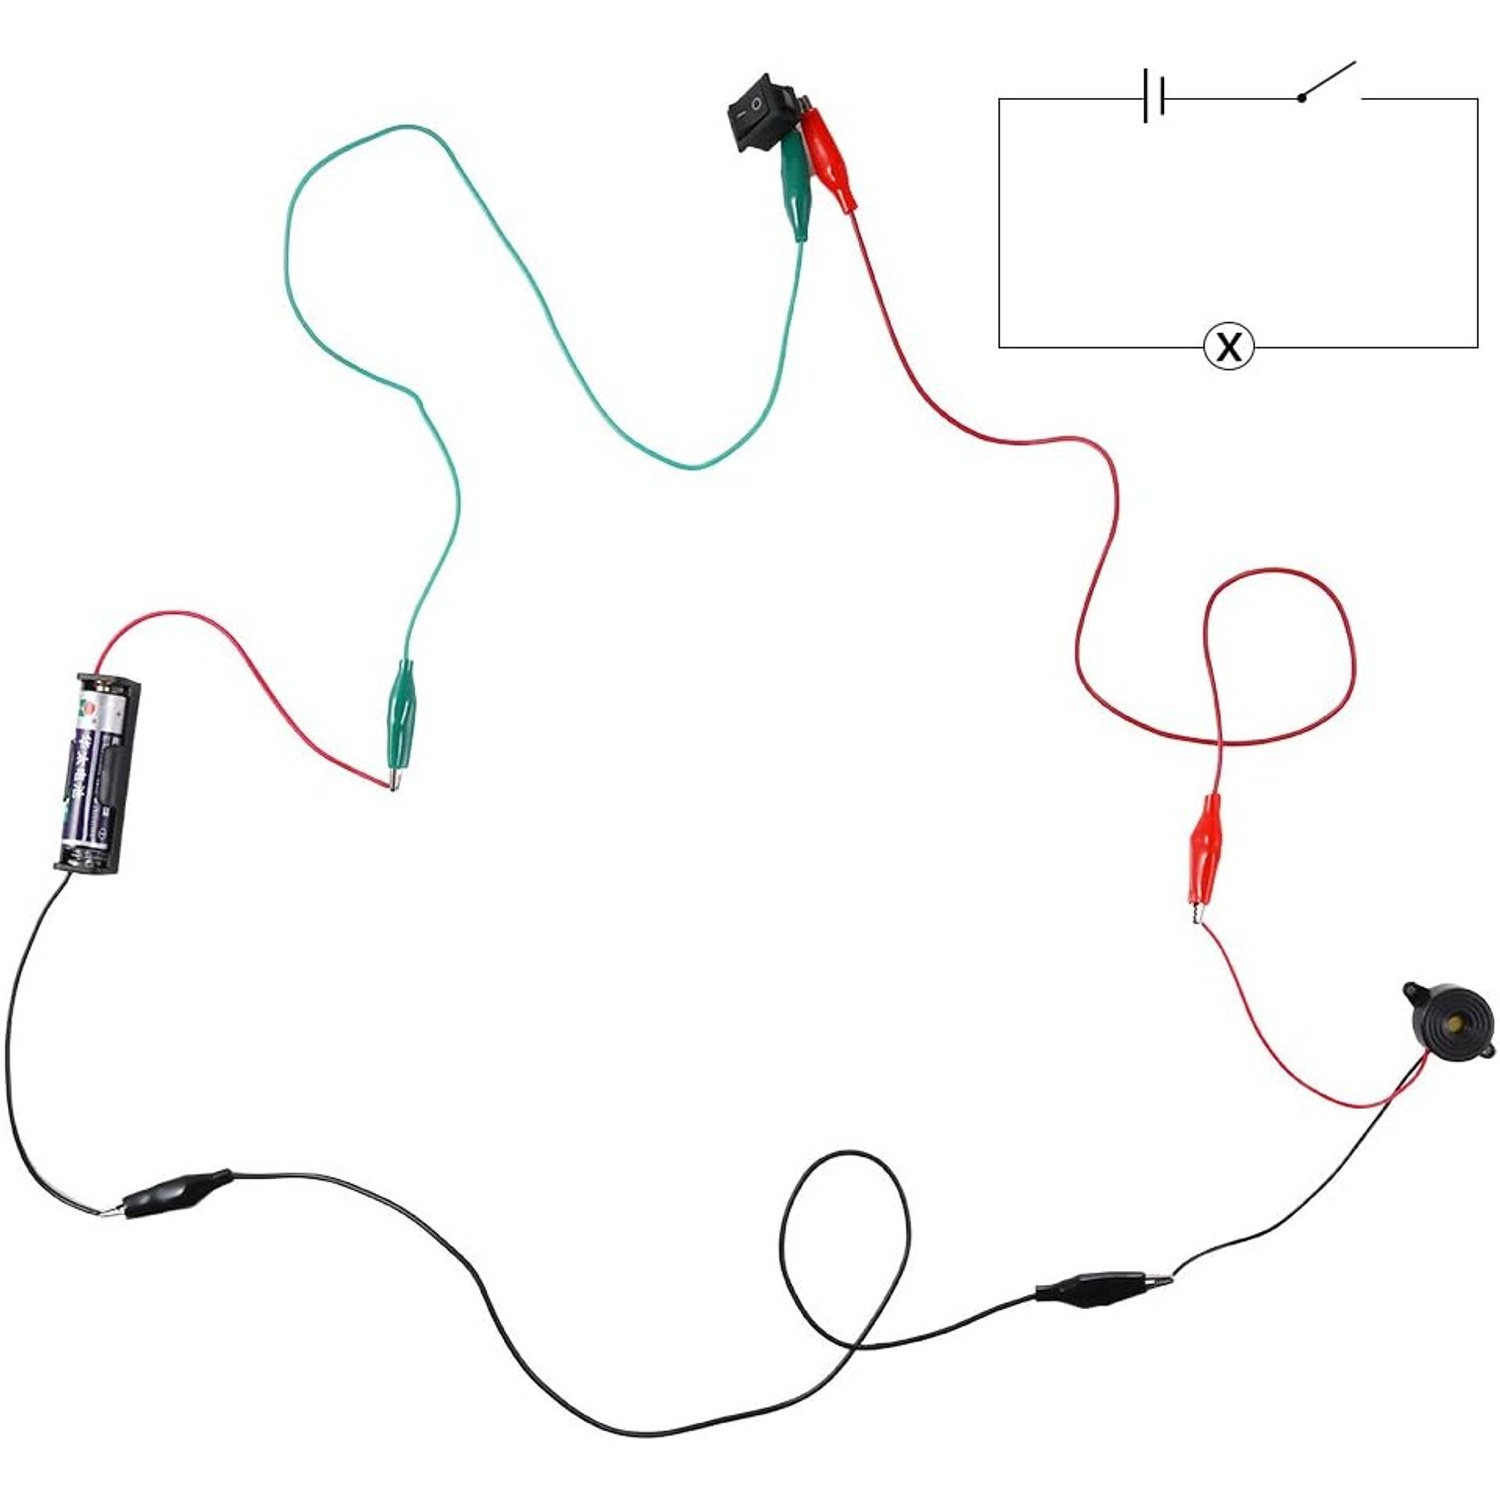
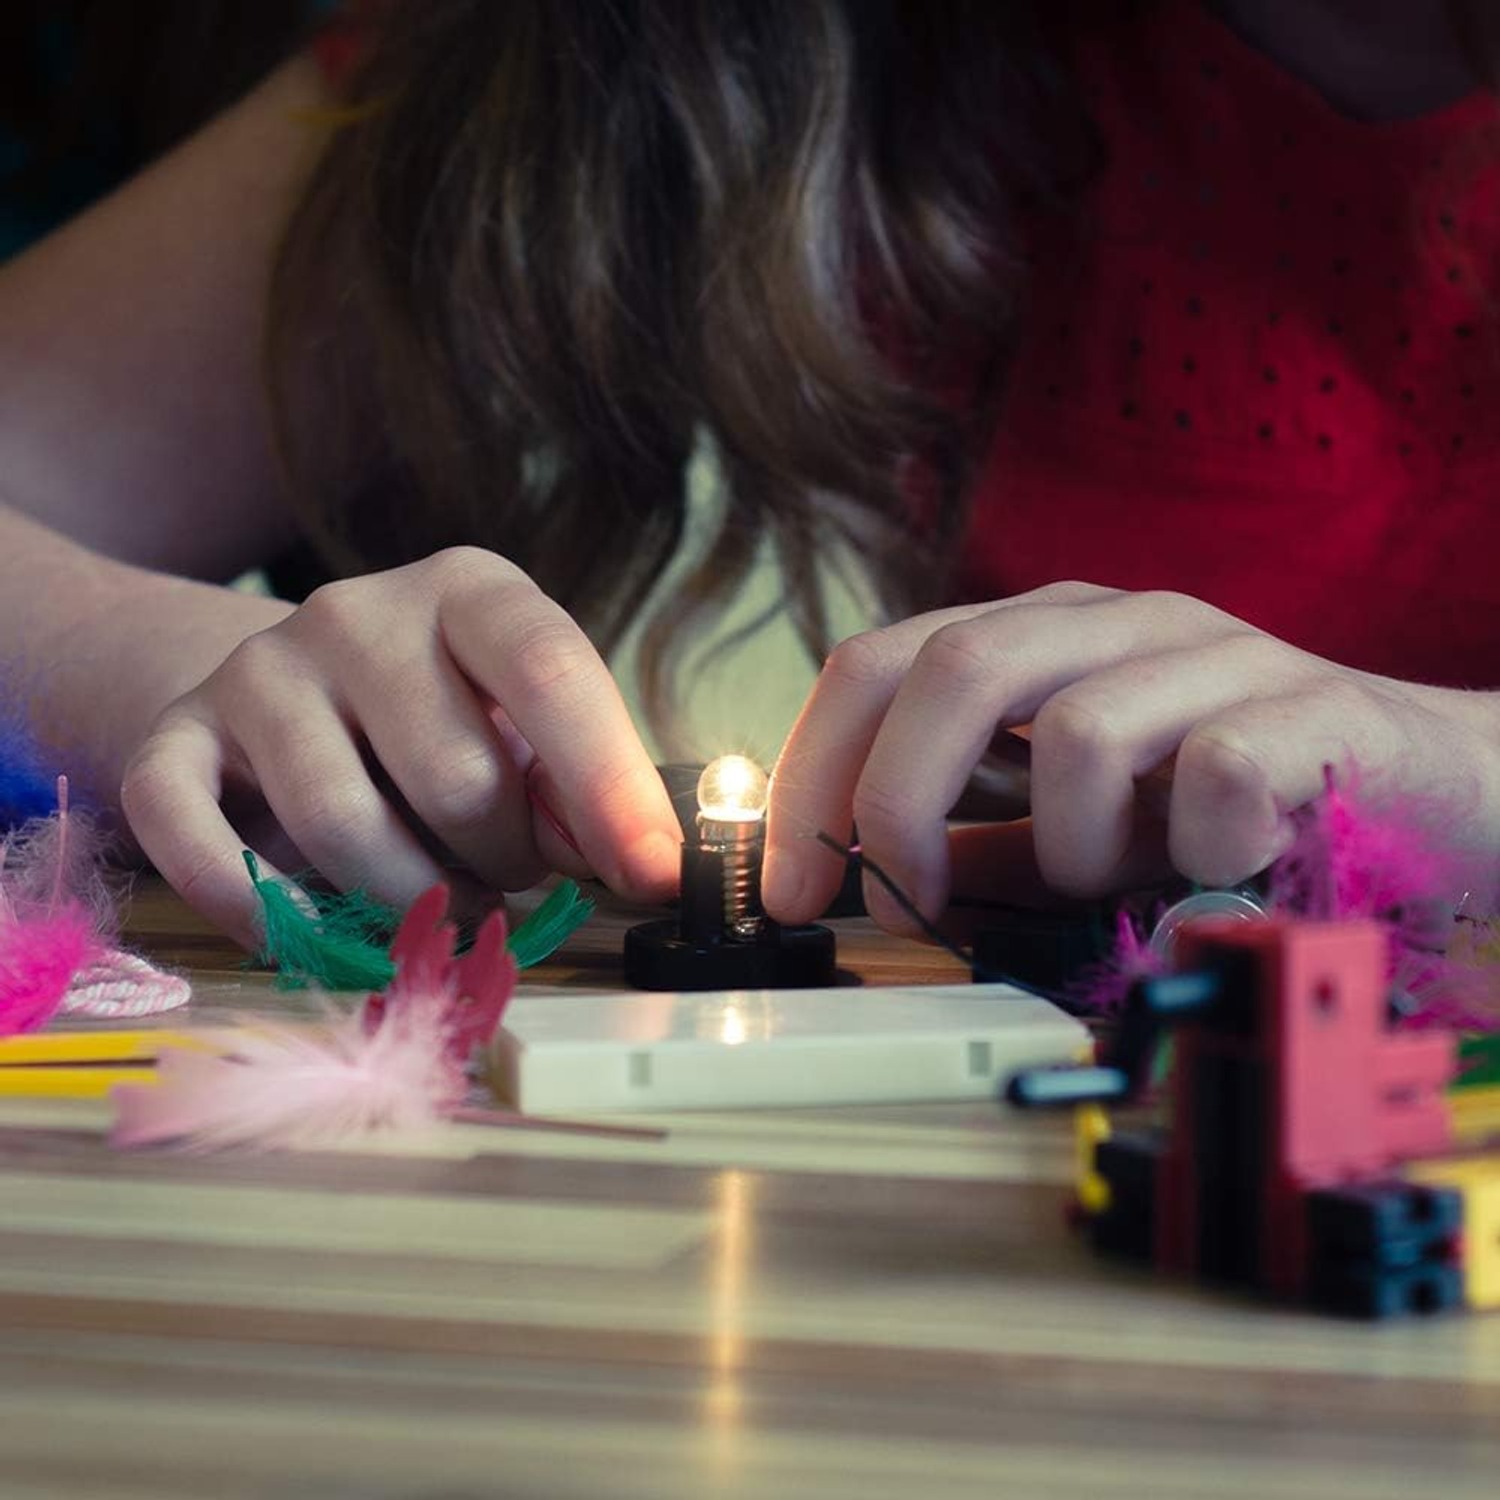
An electric circuit motor kit fixes that by putting the whole thing in their hands. A battery holder, a lead, a switch, a bulb. Clip them in a loop and the bulb lights. Unclip one lead and it goes out. Nothing is hidden inside a sealed toy. The child can see the entire path, trace it with a finger, and change it in seconds.
That is why this kind of kit has stayed popular while fancier gadgets come and go. It does one job and it does it where you can watch.
What is actually in the box
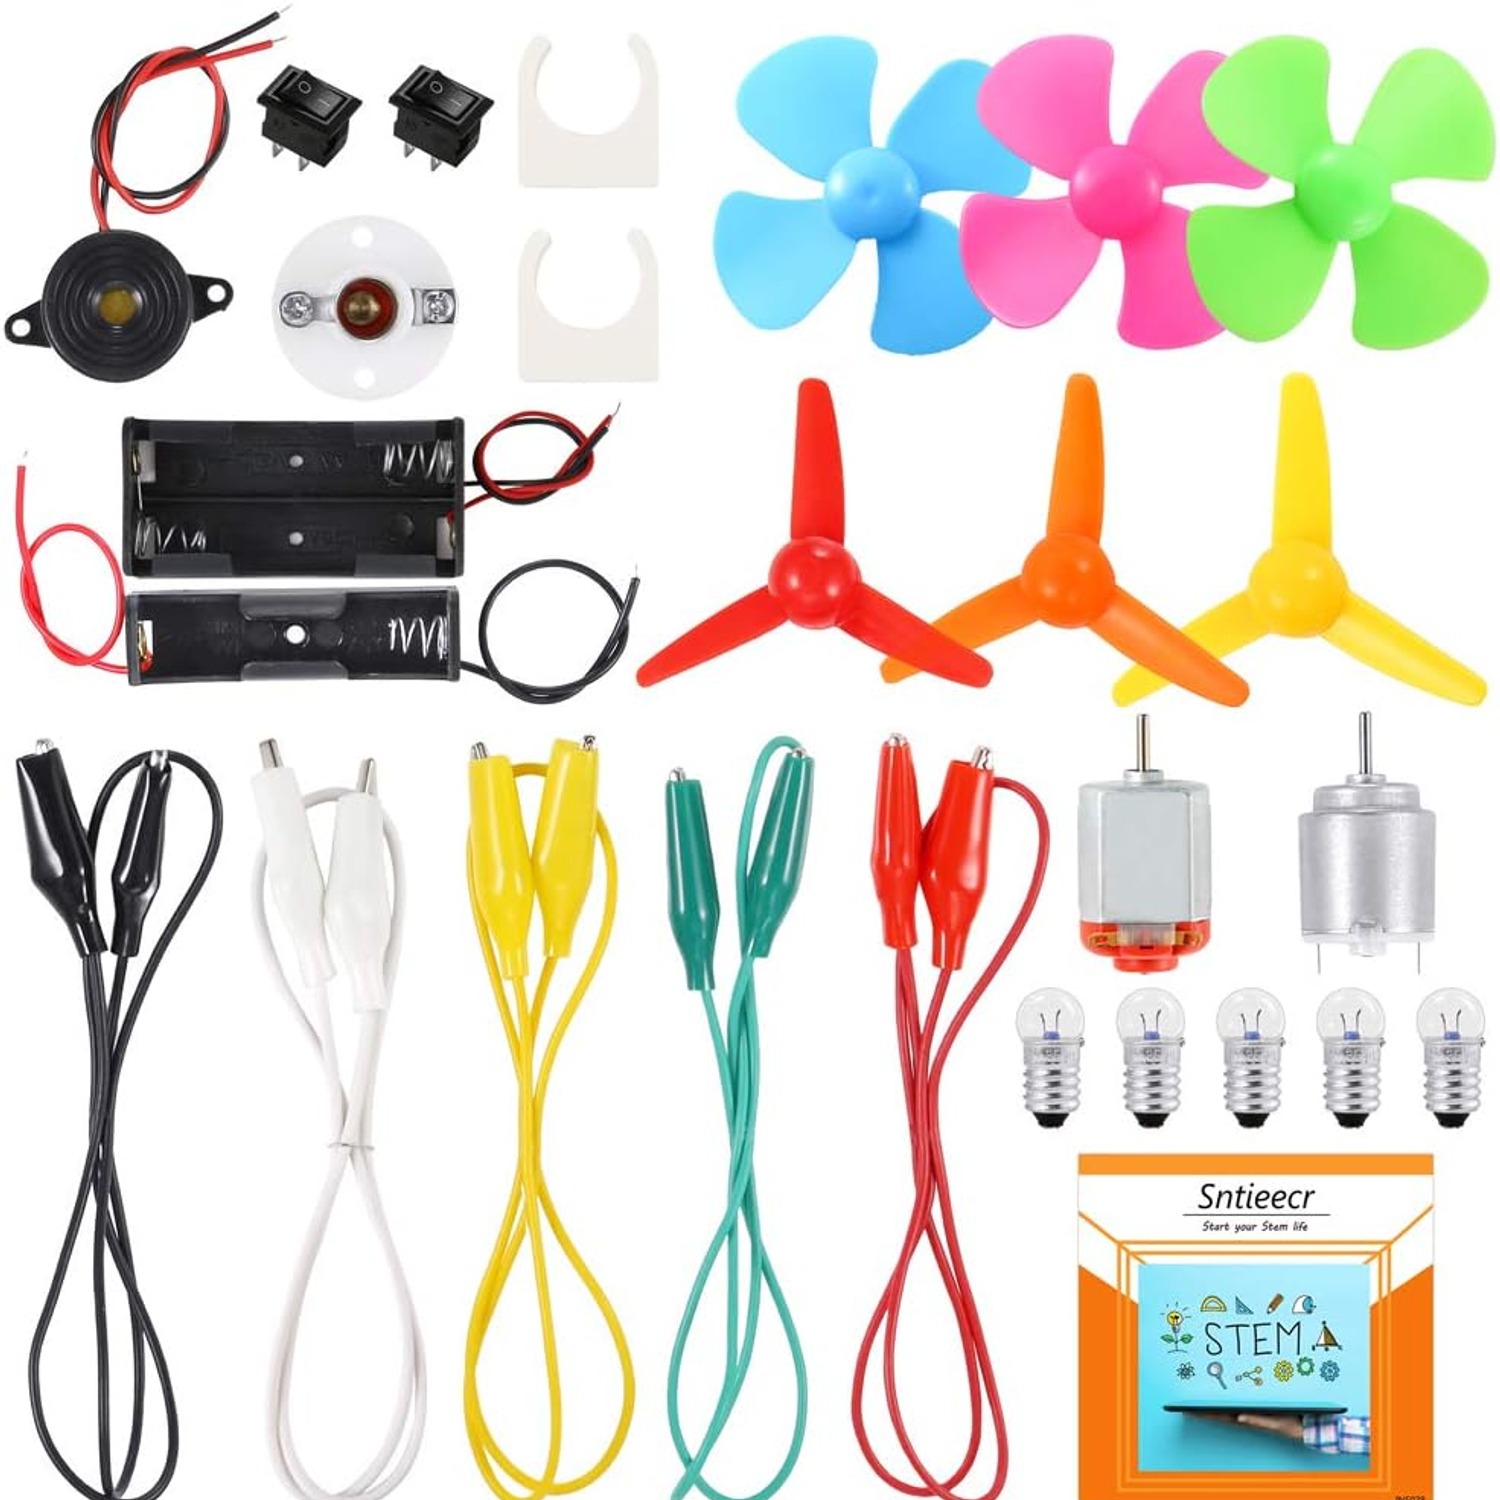
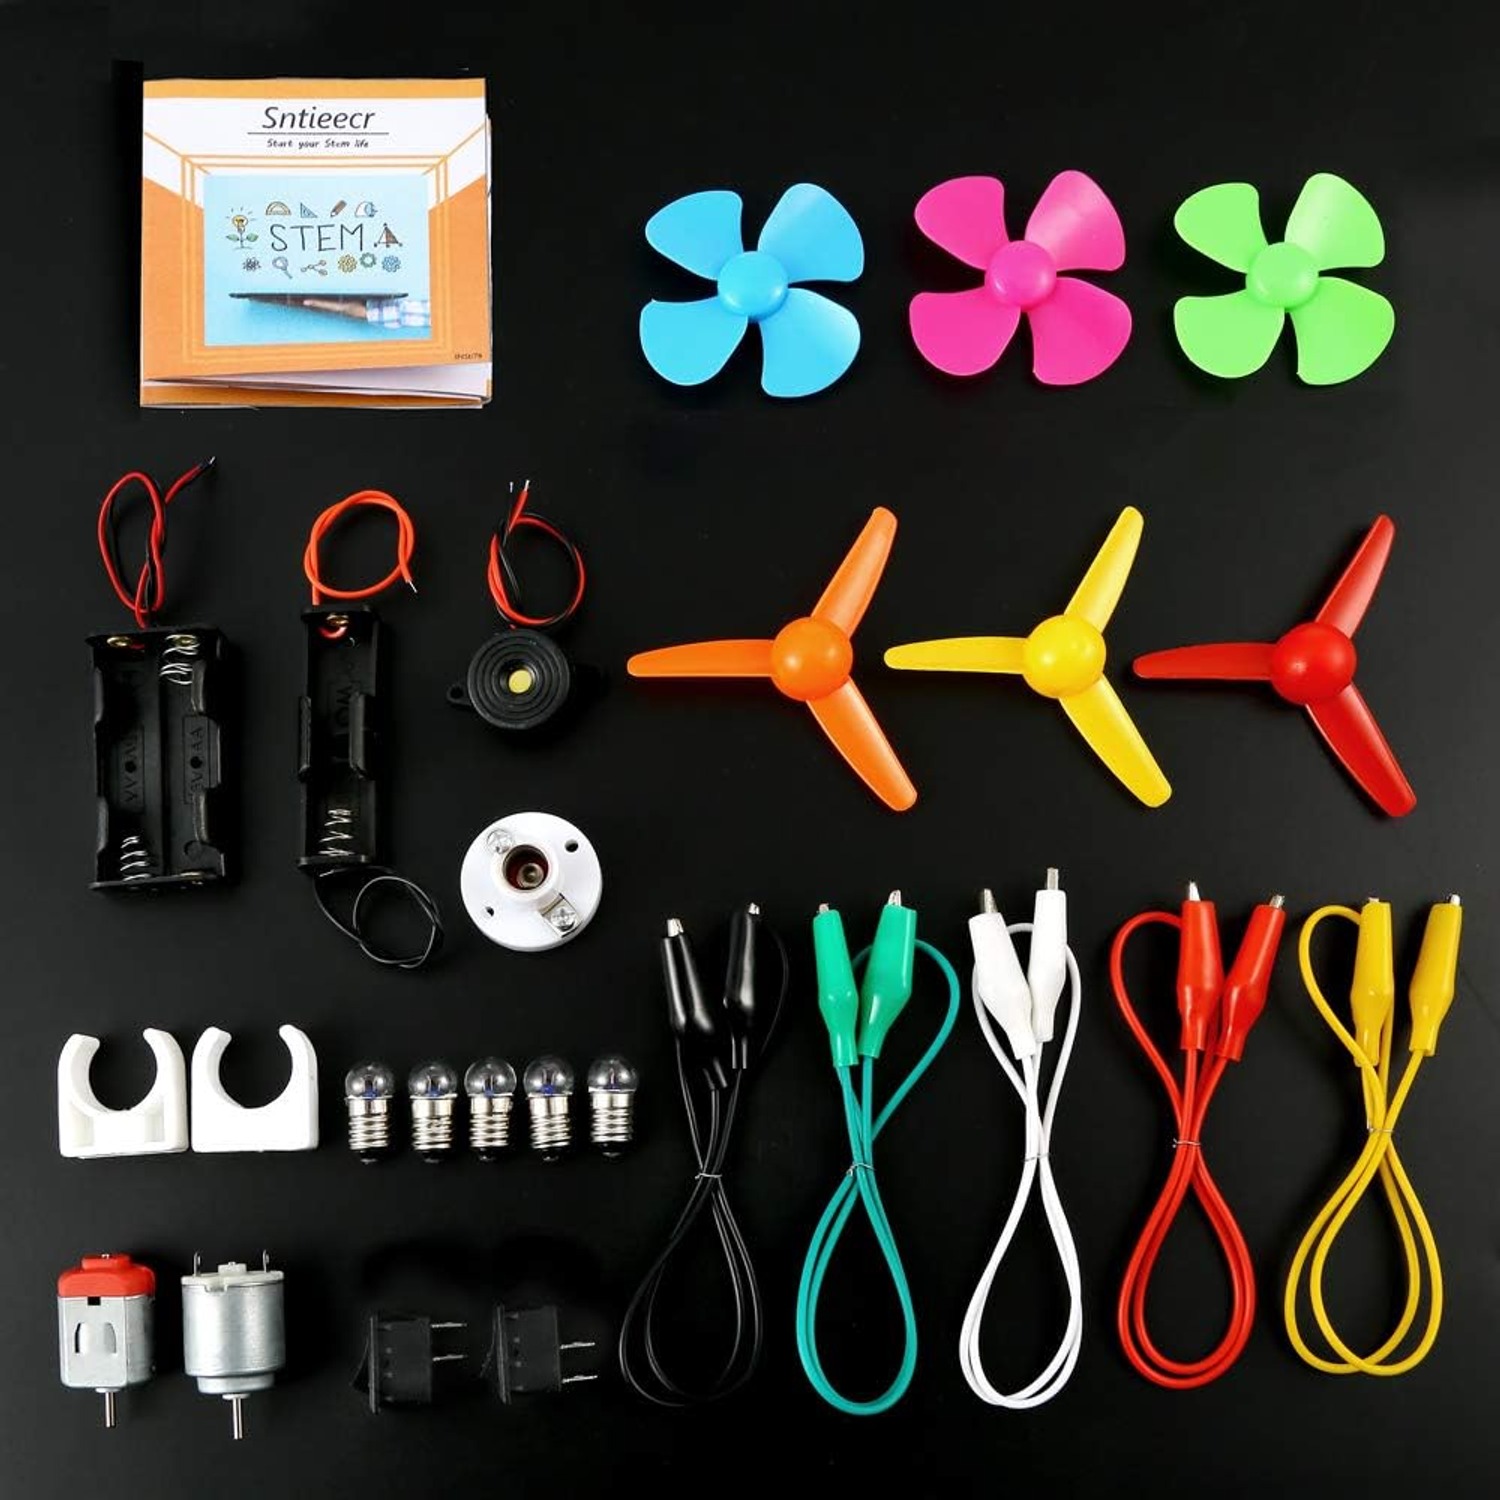
This set is built around clip-together parts. You get an instruction sheet, five crocodile clip leads, five bulbs, two motors (one white and one red), two motor holders, two rocker switches, three propellers with three vanes, three propellers with four vanes, one buzzer sounder, one bulb holder, an AA battery holder for a single 1.5V cell, and a second AA holder for two 1.5V cells.
Batteries are not supplied. Pick up a pack of AA alkaline cells at the same time, or the first session turns into a trip to the shops.
Nothing needs assembling. The product details list assembly as not required, which means a child can open the box and start wiring. The only mechanical step is pushing a propeller onto a motor shaft, and that takes a second.
How the kit works
Every circuit in this kit is a loop. Current leaves one terminal of the battery holder, travels through whatever you put in its path, and returns to the other terminal. Break the loop anywhere and everything stops. That single idea explains almost every experiment a child will run.
The crocodile clips are what make it work for young builders. Screw terminals and breadboards slow children down and create fiddly failures that look like the circuit is wrong when it is only loose. A clip bites onto a terminal and either holds or it does not, and you can see which at a glance.
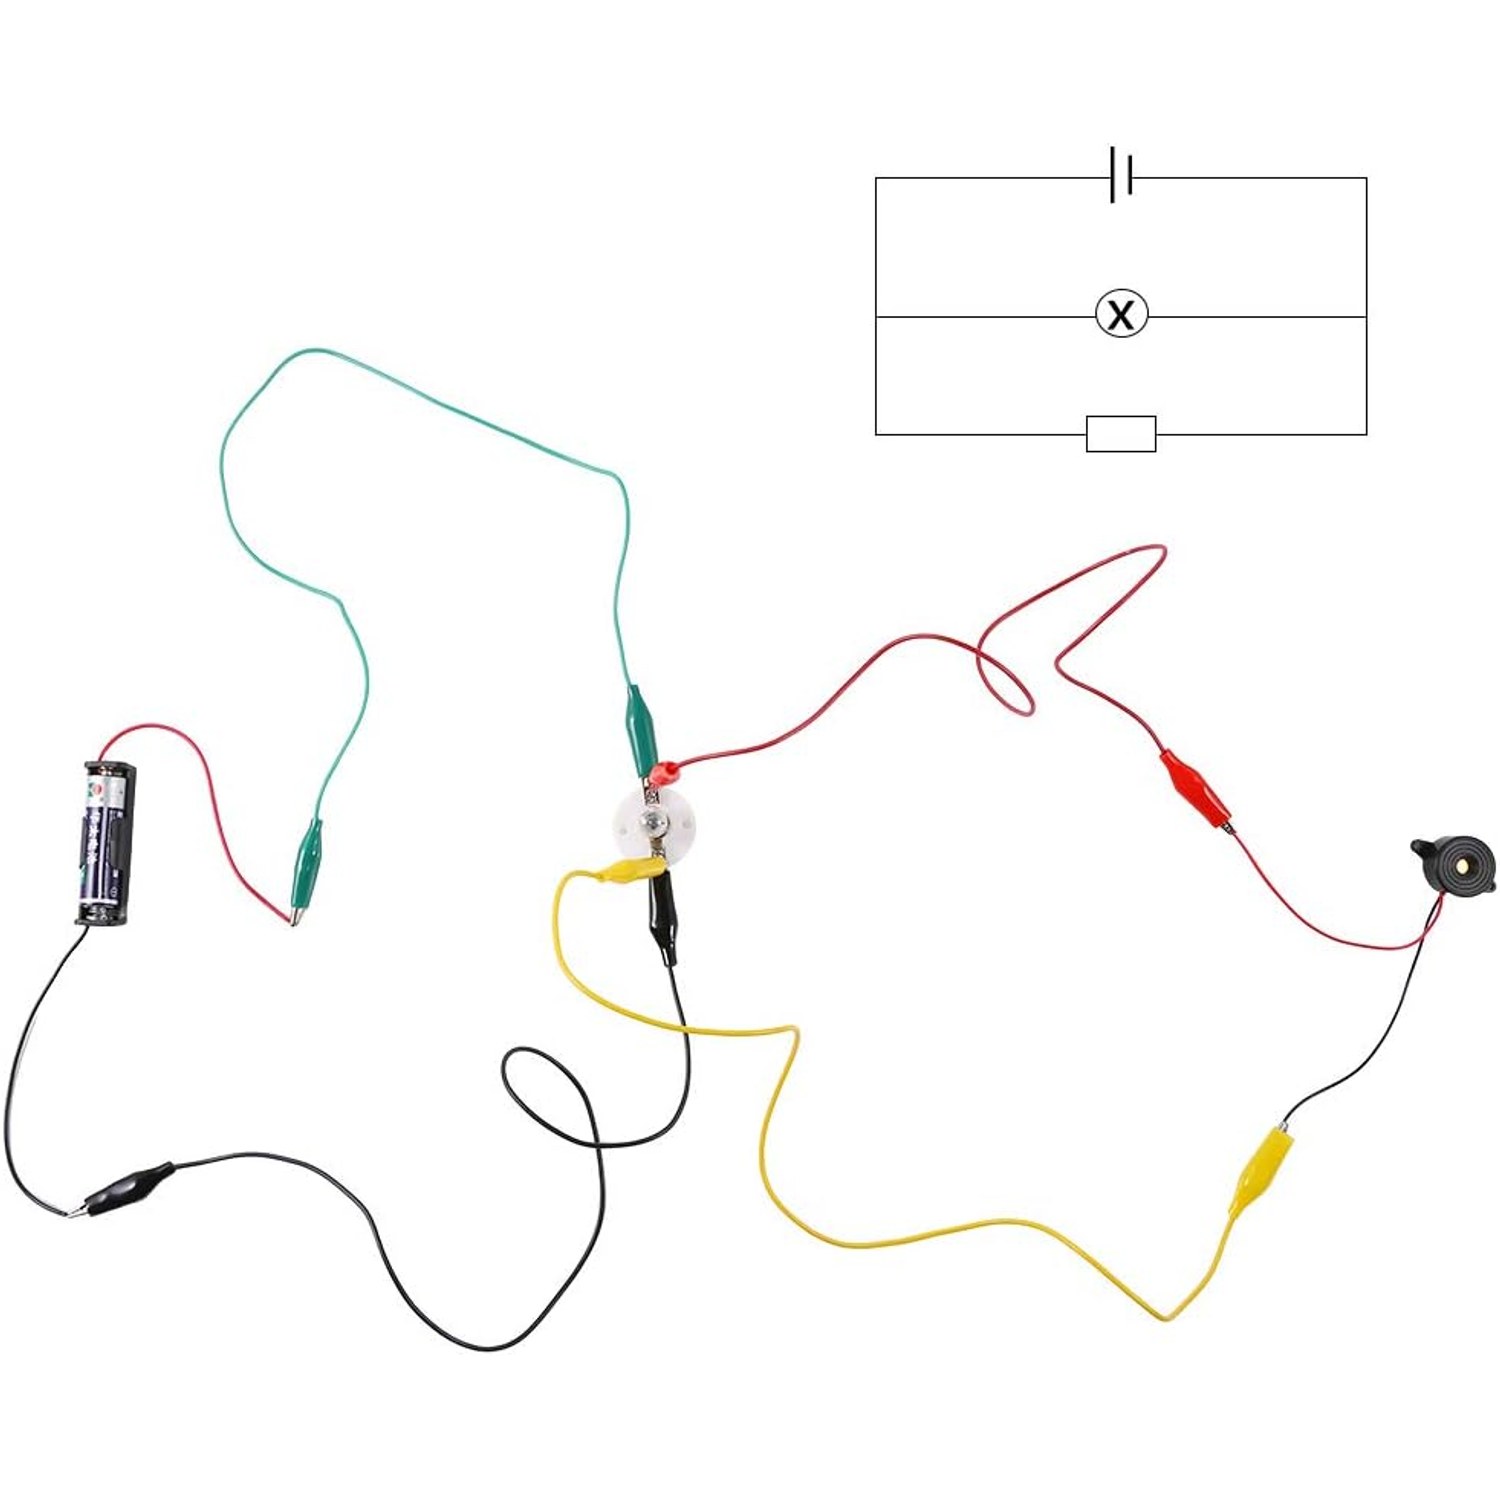
From there, the interesting part begins. Put two bulbs one after the other and you have a series circuit, where current passes through both and each one is dimmer. Give each bulb its own branch back to the battery and you have a parallel circuit, where each path runs independently. Break one branch of a parallel circuit and the other keeps going. That is the moment most children sit up, because it contradicts what they expected.
Swap a bulb for a motor and the lesson shifts again. Now current becomes motion. Add a propeller and the motion becomes air they can feel on their face. Add the buzzer and the same current becomes sound. Same loop, three different outputs, which is a neat way to show that electrical energy can be converted into light, movement or noise.
Who it suits
The maker recommends ages 8 and up. That age is about right. An eight year old has the finger control for clips, the patience to redo a connection, and enough reading ability to follow the circuit pictures.
Younger children can take part if an adult drives the build. A five year old will happily press the switch and watch the propeller spin, and they will get something from it, but they will not be designing circuits.
Older children and teens get more out of it than you might expect, especially if a school assignment calls for a practical demonstration. Many searching for the best STEM toy for 8 year olds end up using the same kit at twelve, just with harder questions attached.
It also earns its place in a classroom. Science, technology and design units all touch on circuits, and a box of parts that survives being clipped and unclipped by thirty pairs of hands is worth more than a single demo rig at the front of the room.
Choosing between circuit kits
A few things separate a kit that gets used from one that sits in a cupboard.
Count the connection points. Five leads sounds modest until you realise how many circuits five leads can make. More important is whether the clips grip well, because loose connections are the main cause of a child giving up.
Check the outputs. A kit with only bulbs teaches one thing. This one gives light, motion and sound, which means a child can keep finding new results for several sessions rather than one afternoon.
Look at the voltage range. This set runs on 1.5V to 3V, which is low enough to be sensible for children and high enough to spin a motor properly. Anything that needs mains power is a different category of product with different supervision needs.
Think about repairability. Bulbs blow, that is normal. Five bulbs in a kit with one holder means spares are already included. Propellers are easy to lose, so six of them is generous.
And consider storage. The set measures 12 x 10 x 3 cm, so the whole thing fits on a shelf. Small kits get taken out more often than big ones, which matters more than any single feature.
Safety and sensible use
This kit involves batteries and heat, so a few rules are worth setting before the first build.
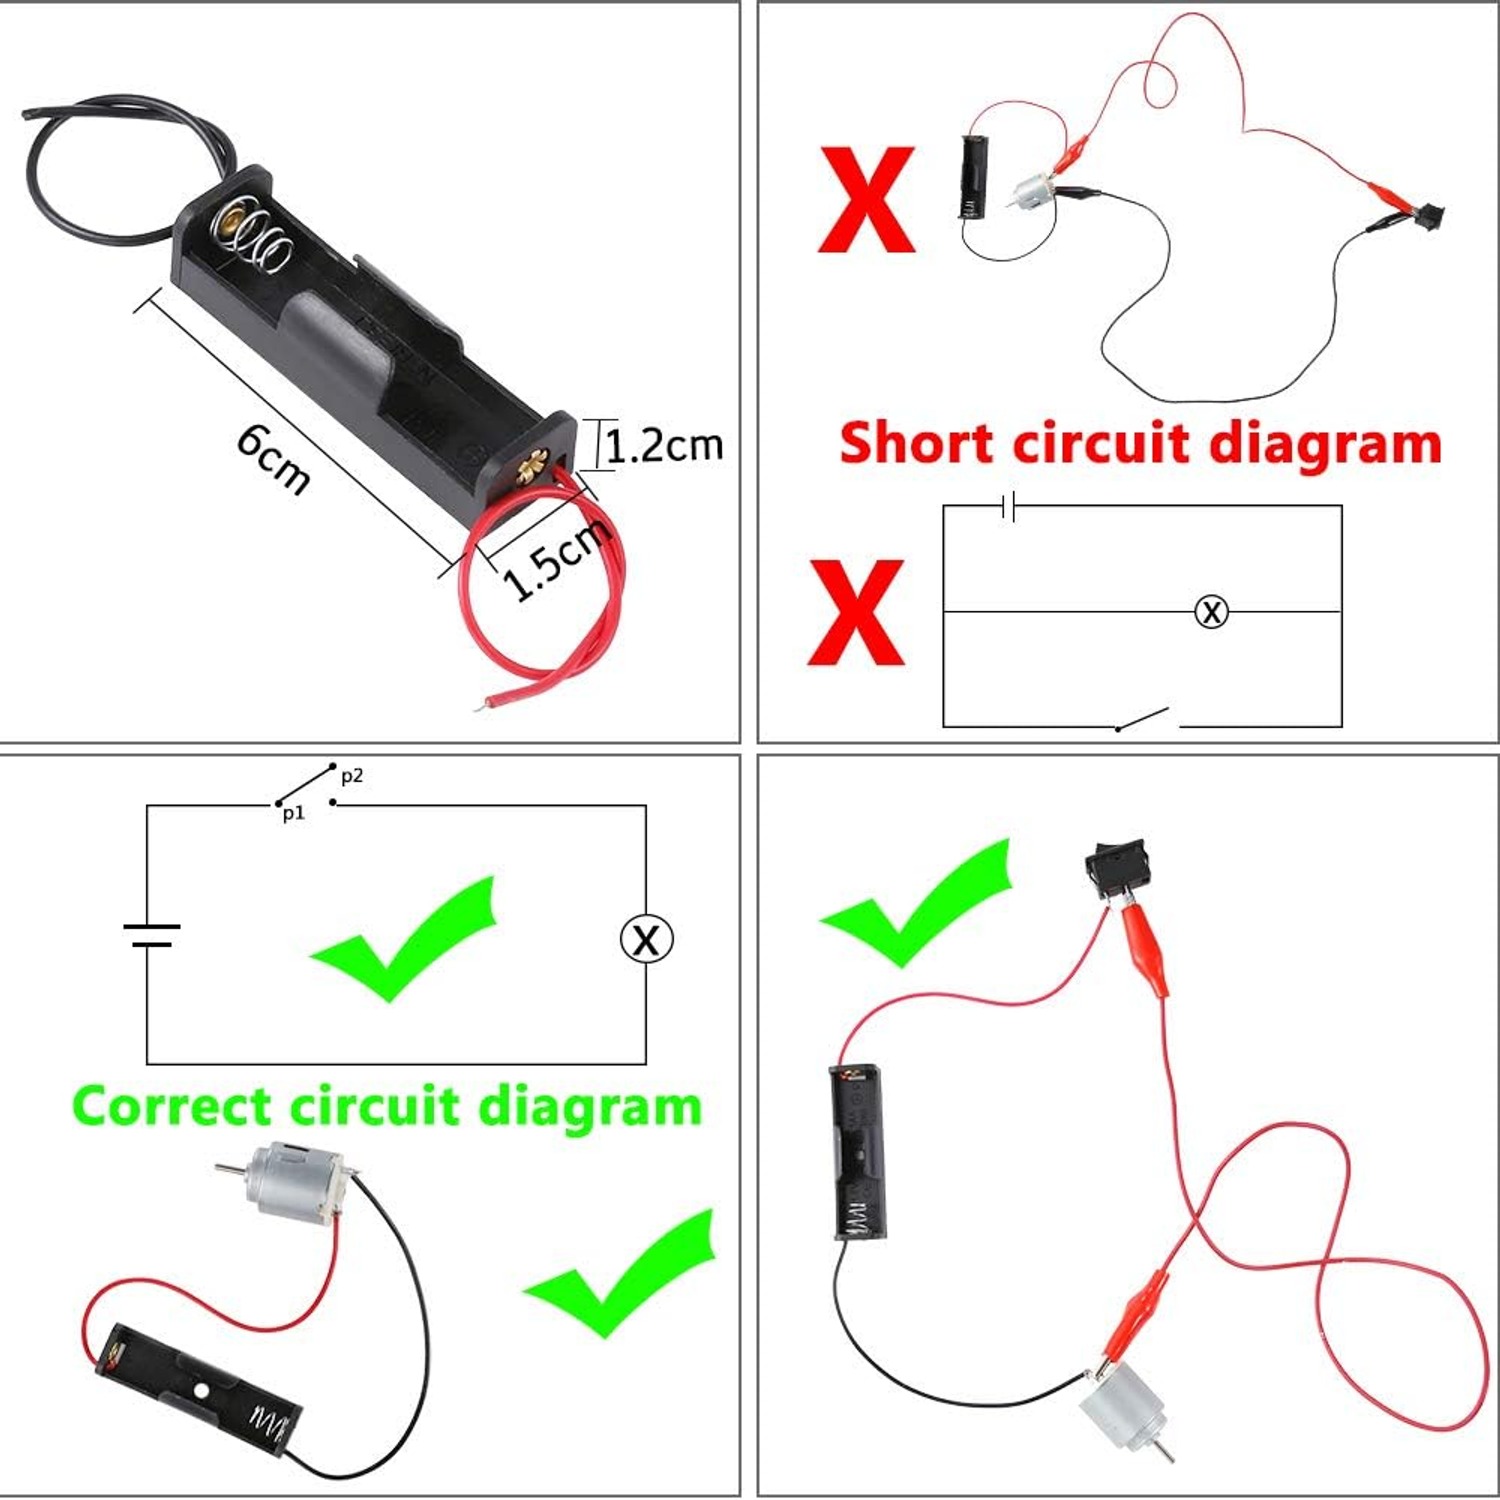
Keep to 1.5V to 3V. At 3V, keep each run short, under about three minutes. After five to ten minutes of continuous running, parts warm up and a short circuit becomes more likely, which can melt a battery holder case.
Follow the circuit pictures on the instruction sheet, at least to begin with. Freestyle wiring is fine once the basics are clear, but a beginner who clips both battery terminals together directly will learn a hot lesson they did not need.
Do not mix old and new batteries, and do not mix alkaline with carbon-zinc or rechargeable cells. Mismatched cells discharge unevenly and can leak.
The kit contains small parts and is a choking hazard for children under 3. Adult supervision is advised whenever children are building.
If anything smells hot, pull the battery out first and investigate second.
Looking after it
Store everything back in the box after each session. Small parts walk off fast otherwise, and a kit missing two leads is a frustrating kit.
Take batteries out of the holders between uses. Cells left in place slowly drain and can leak over months, which ruins a holder.
Wipe plastic parts with a lightly damp cloth, never a wet one, and let them dry fully before packing away. Keep the box somewhere dry and away from radiators.
Before each build, glance at the leads. If a clip is bent out of shape or a wire is pulling free at the crimp, set that lead aside rather than fighting with it.
The short version
This is a straightforward box of electrical parts that lets a child build real circuits with their own hands. Bulbs, two motors, six propellers, two switches, a buzzer, five crocodile clip leads and two battery holders, with no assembly and no soldering.
It suits ages 8 and up, works at home or in a classroom, and runs on AA batteries you supply. Keep within 1.5V to 3V, keep 3V runs short, and keep an adult nearby.
What you are really buying is the moment a child stops nodding along to a diagram and starts asking why the second bulb got dimmer. That question is worth the price of the box.